Renovate - Repair - Restore
In 1985 after I served a 4yr apprenticeship in the art of antique furniture renovation and restoration in a small local firm under the guidance of a master wood sculptor and 2yrs at college taking my City & Guilds in furniture making I set out on my own.
Since then I have undertaken many projects both large and small from making a wooden leg for a labrador dog to the complete renovation of all the interior of an 19th century manor house.
I was recently asked to make and install some distressed floorboards in English Oak stained and polished to look as if they've been in place for 300yrs and renovate the original Mahogany banister and pitch pine newel posts of a Georgian town house built in 1751.
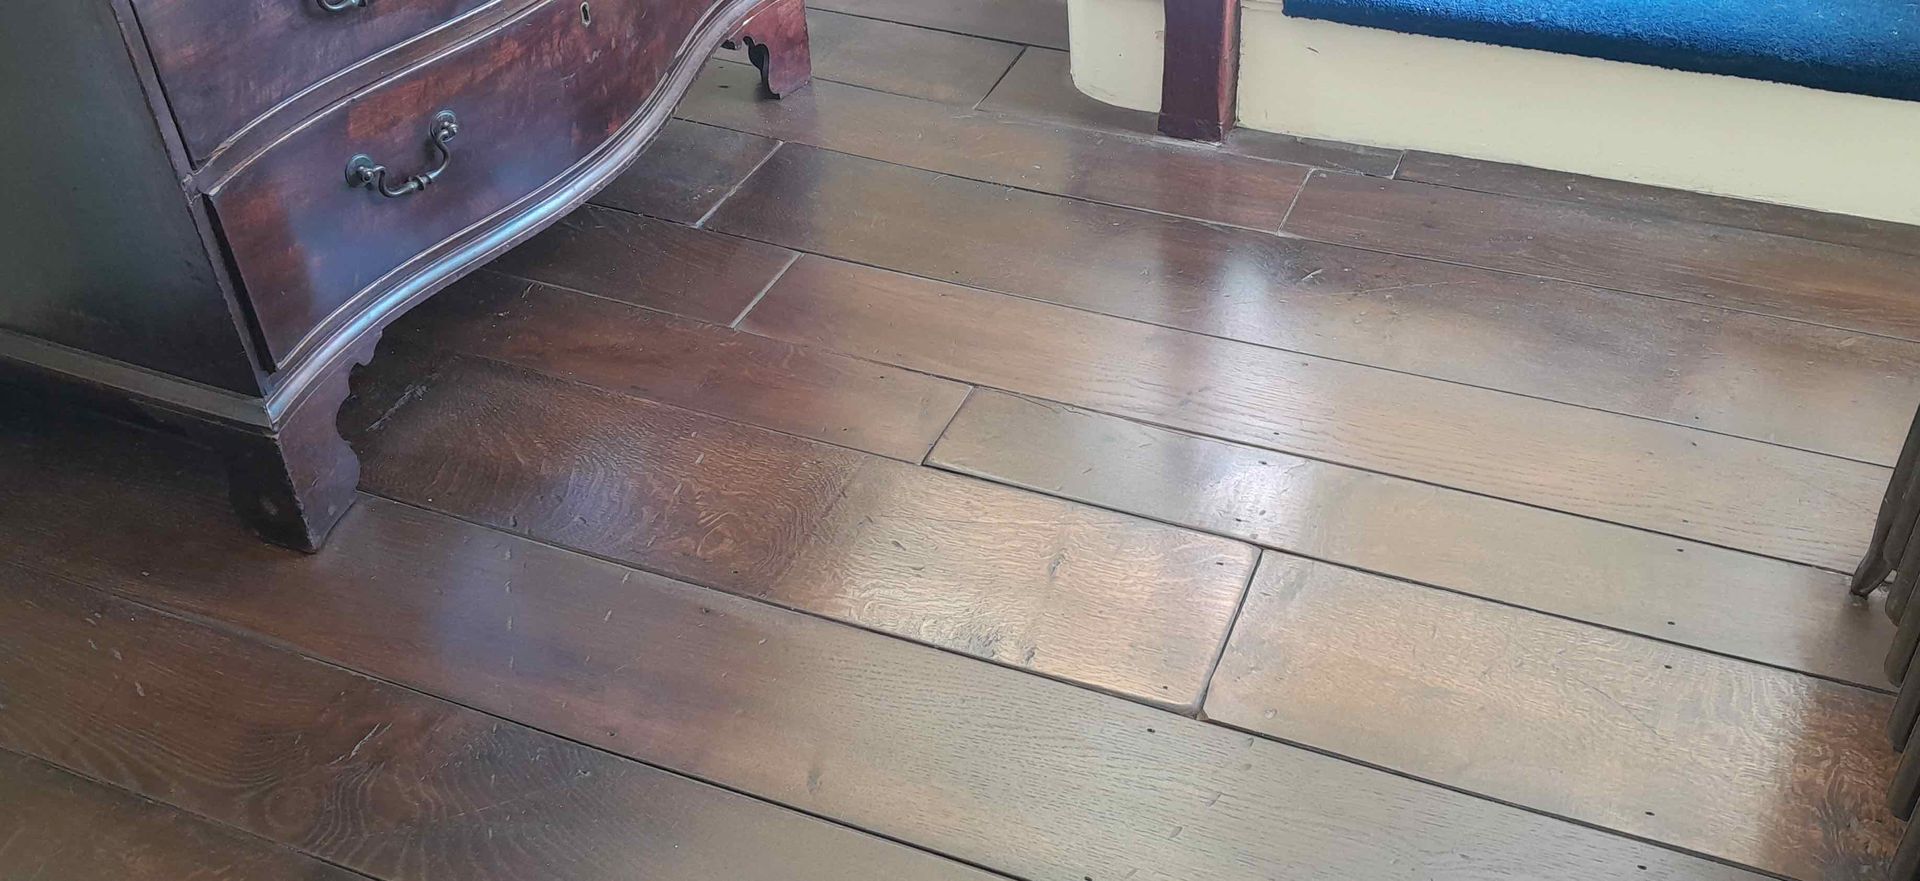
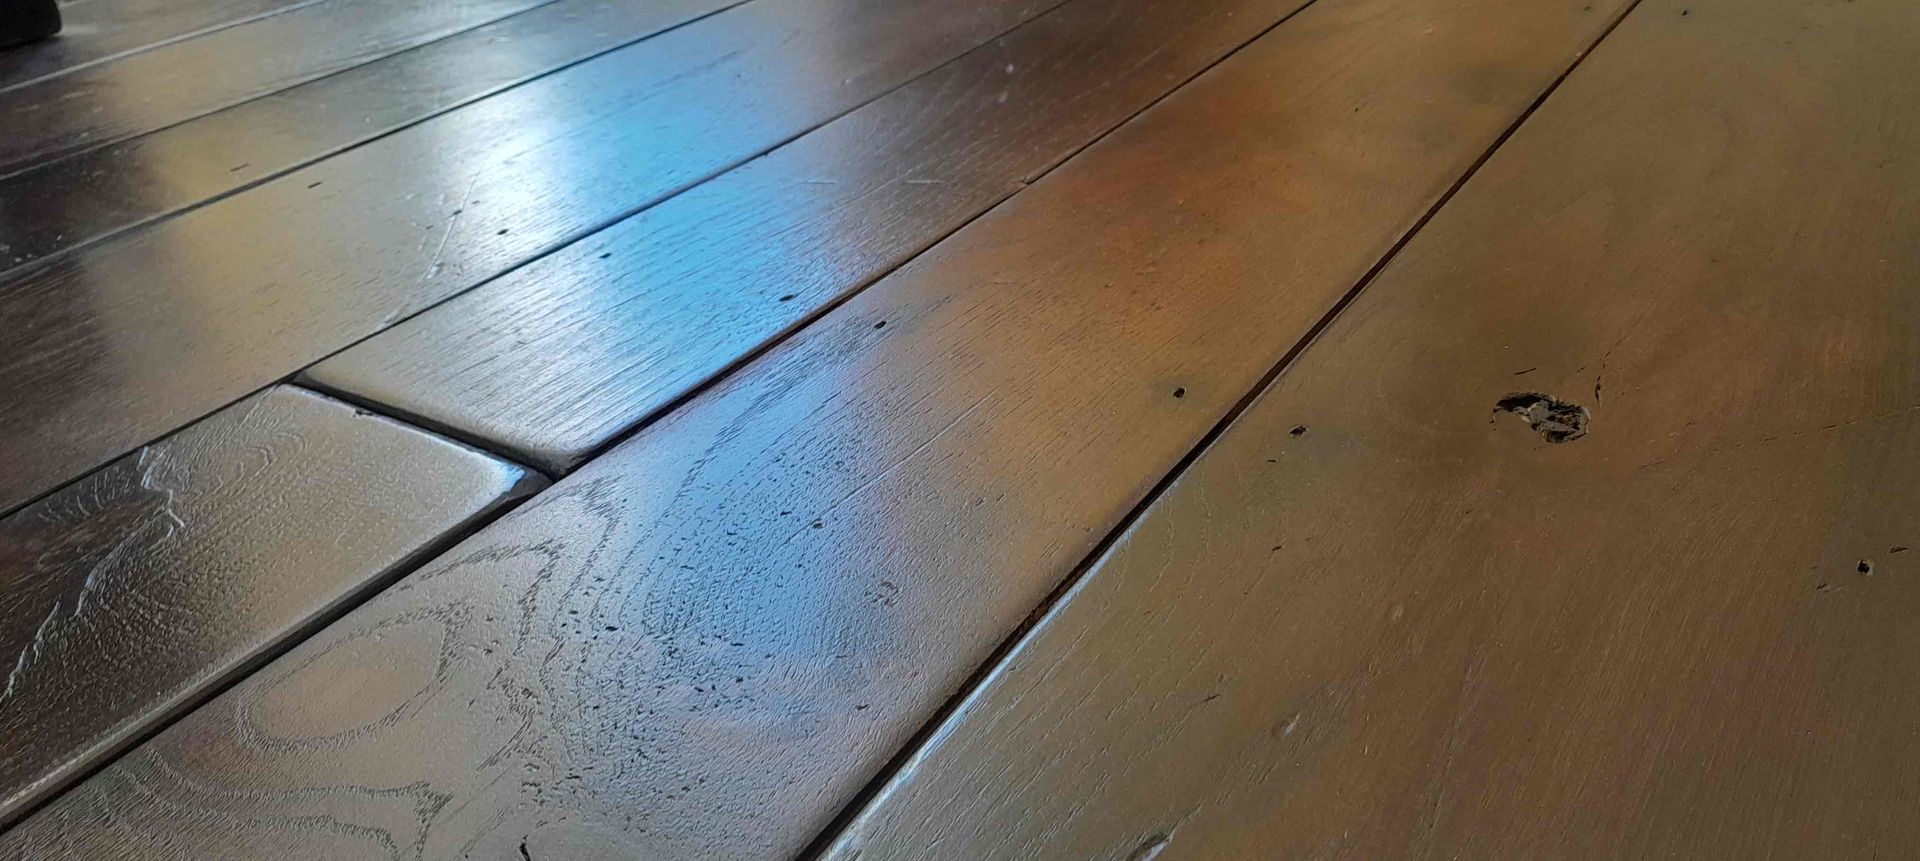
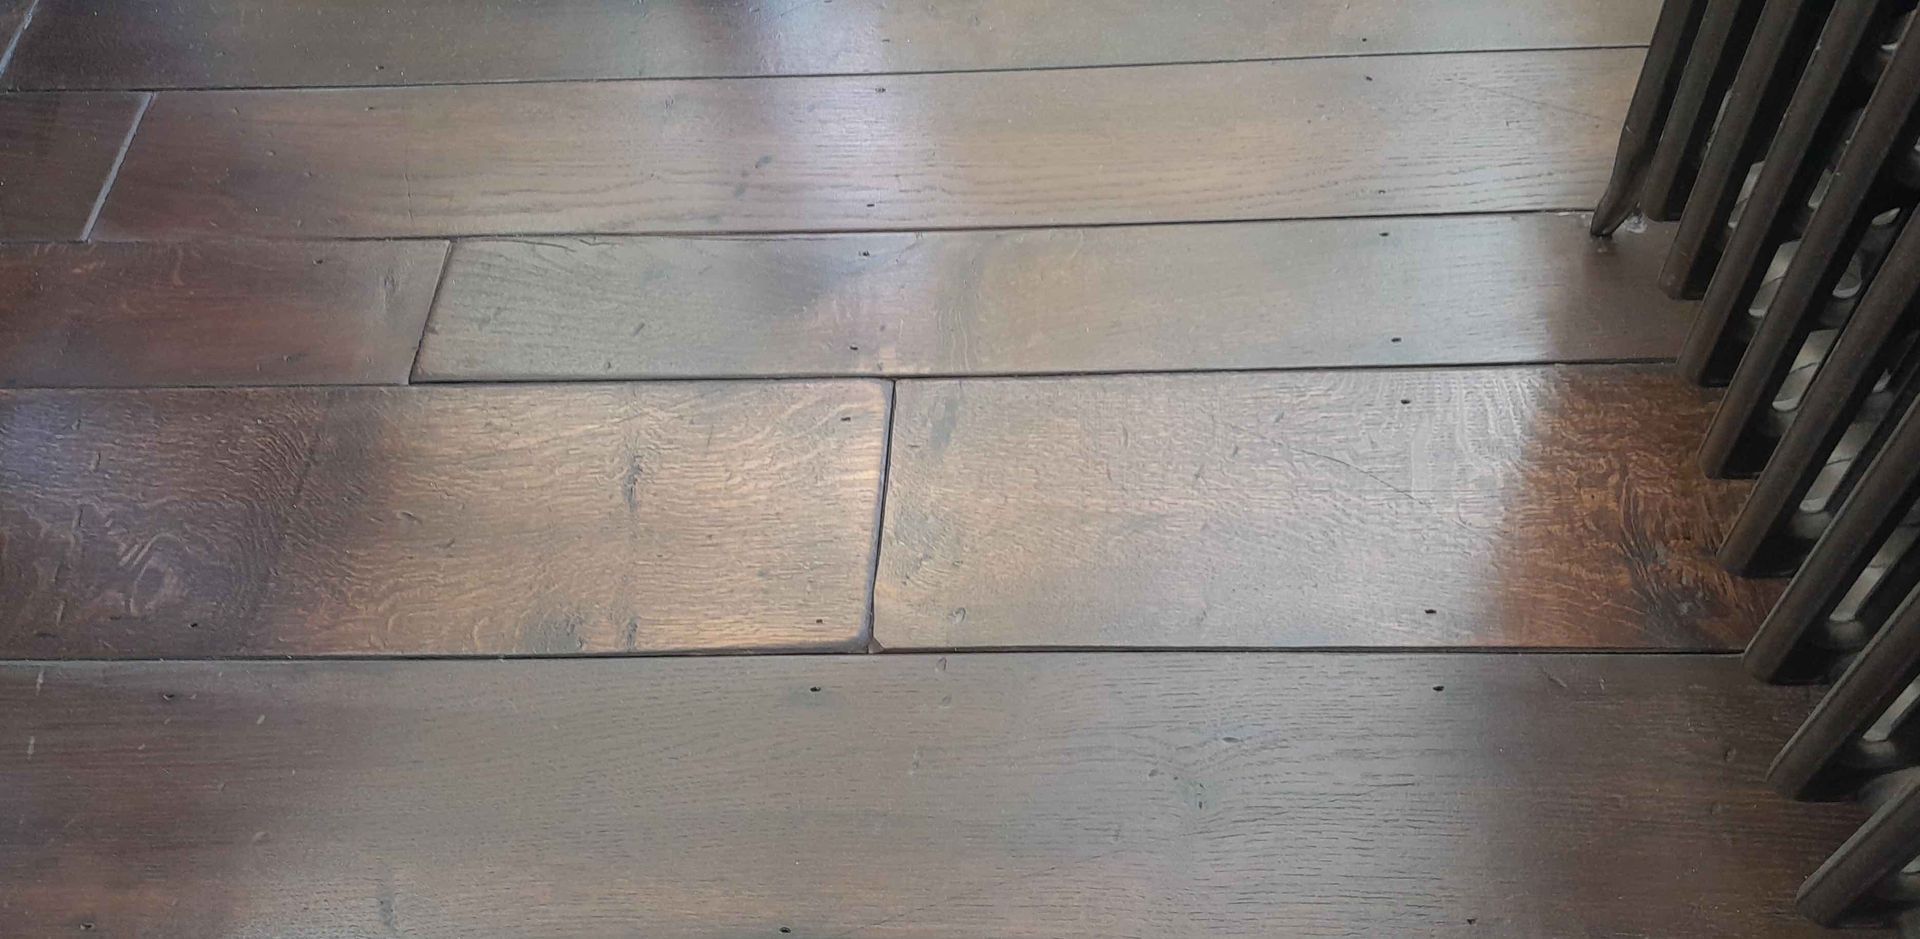
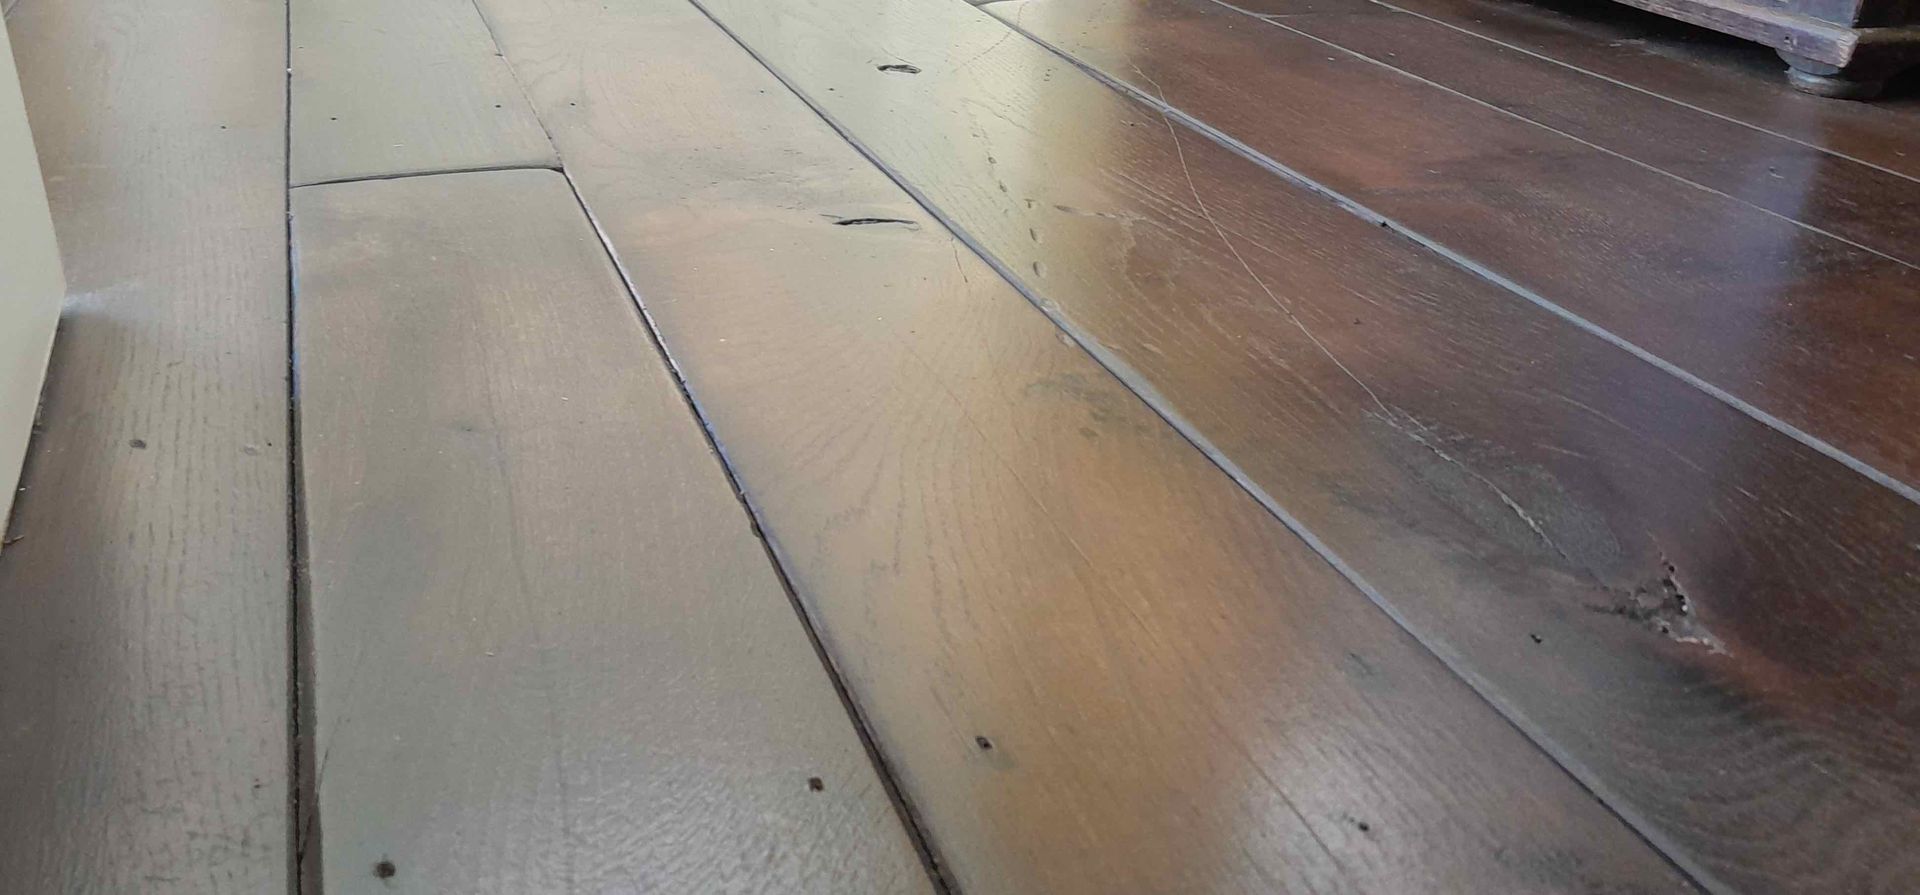
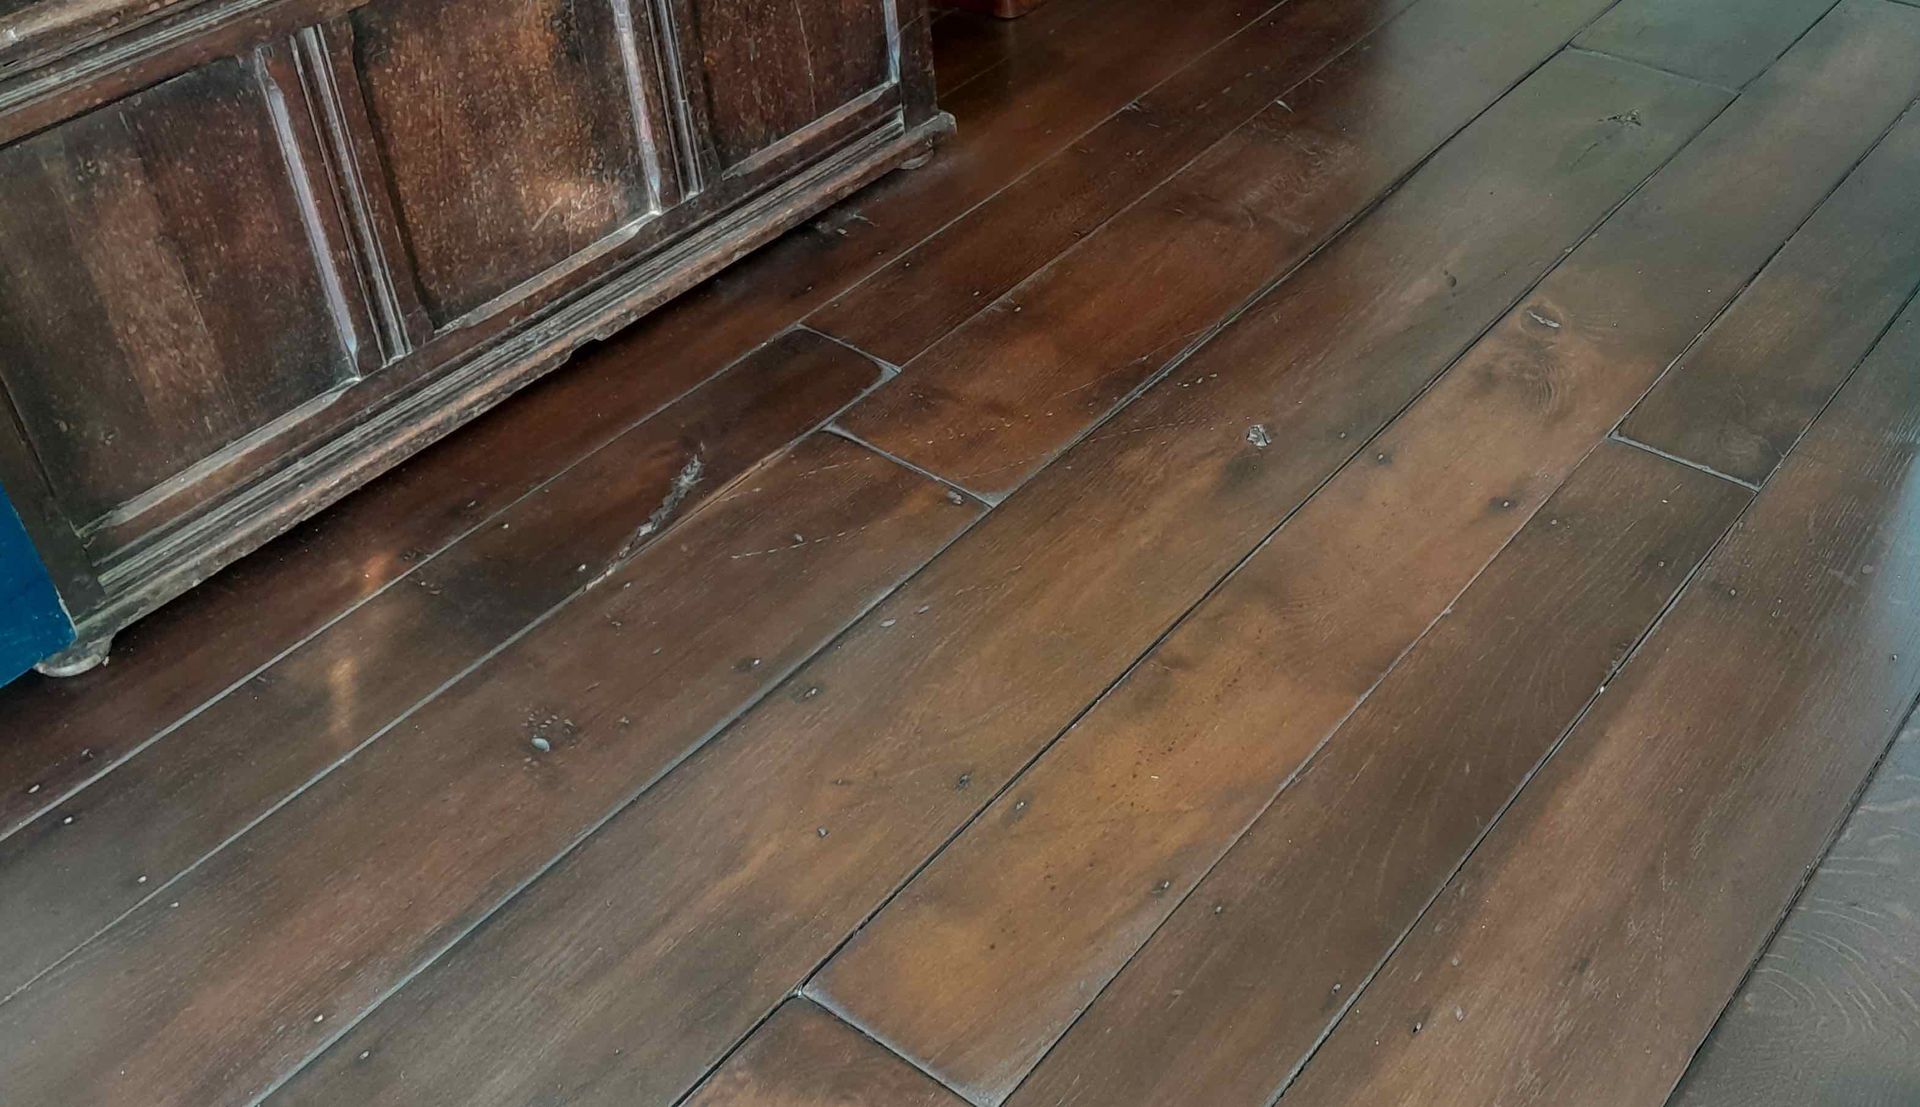
The floor was relatively easy, random width & length boards tongue and grooved all round, distressed (the fun bit) stained to look old, laid with secret fixings, aged nail holes added to complete the image of centuries of wear/tear and then a buffed hand waxed finish.
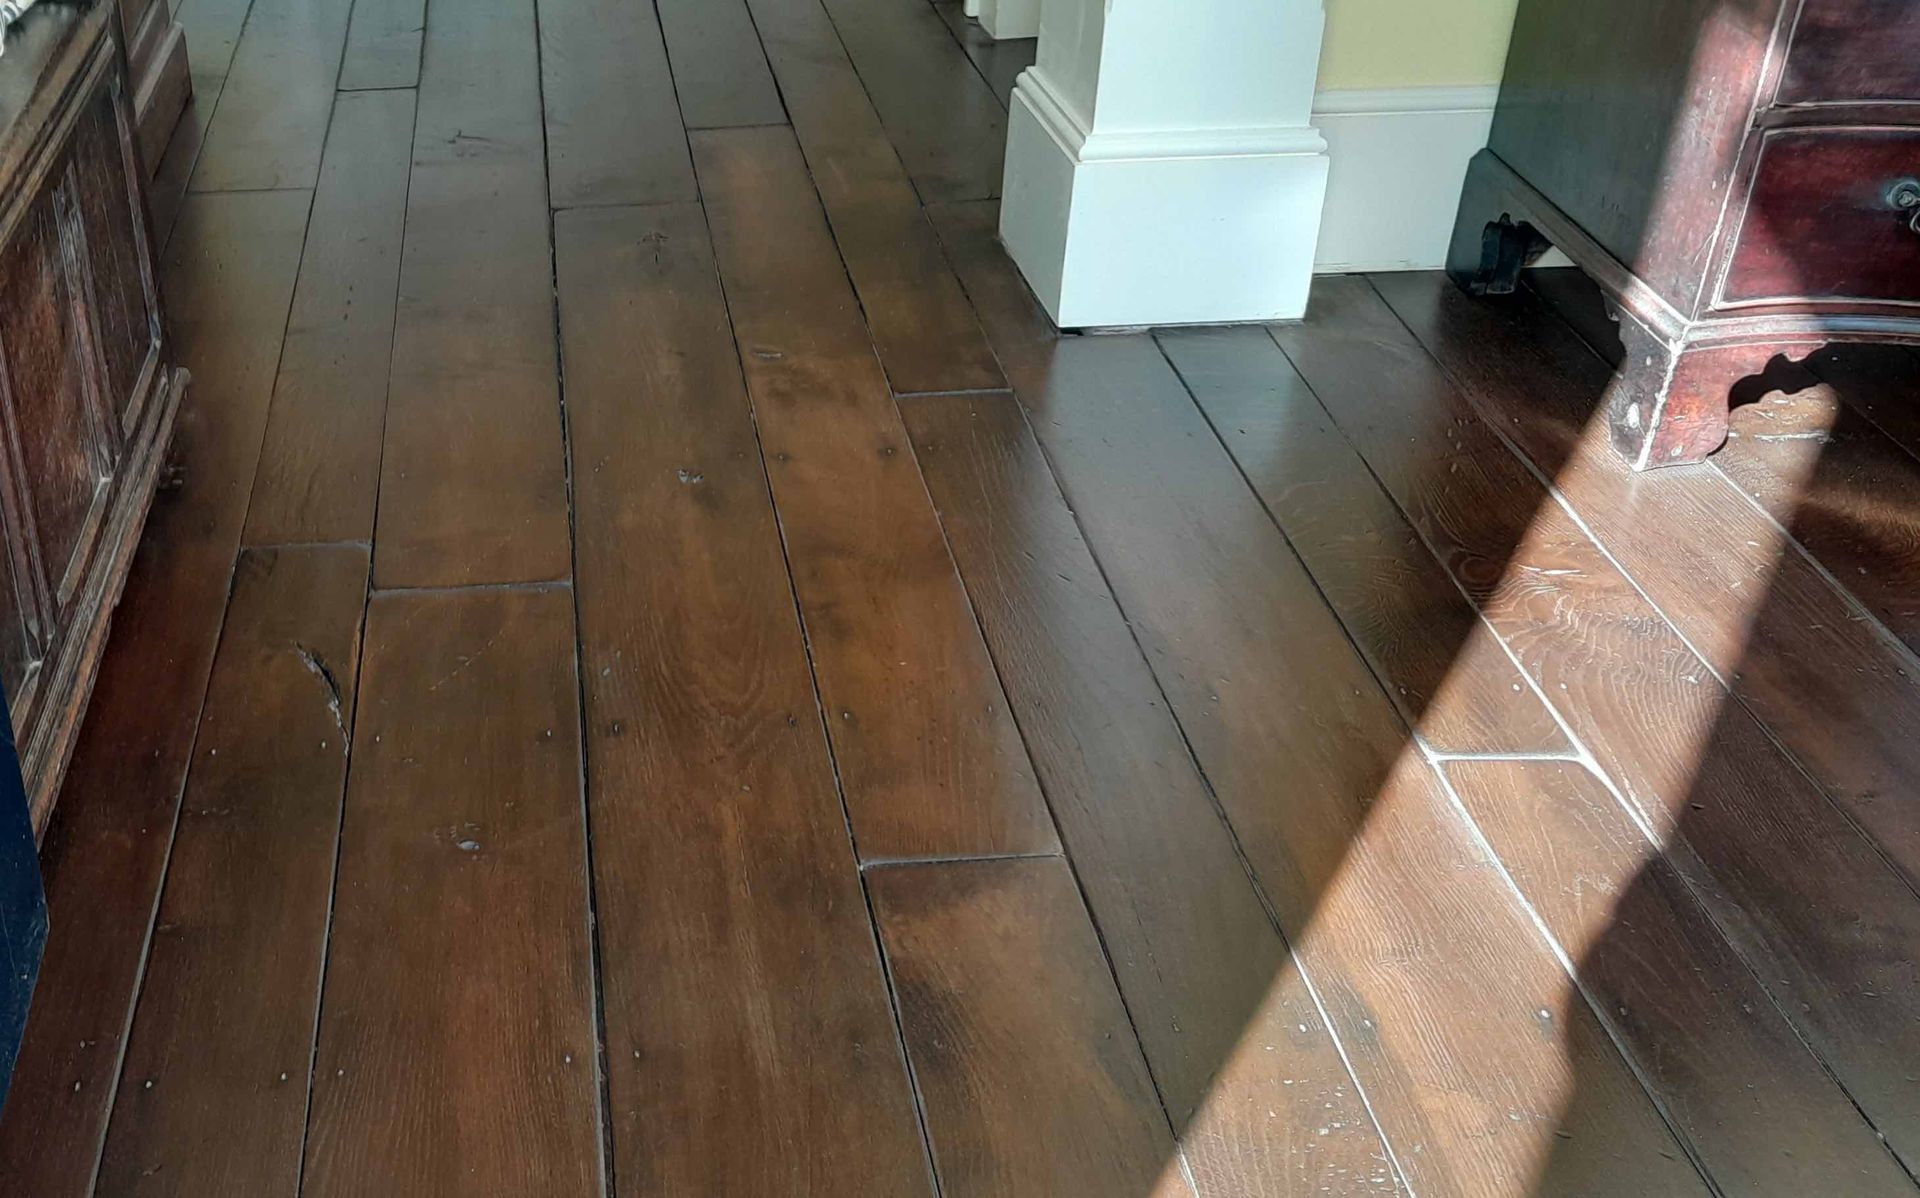
Images below show the floor in more detail from different angles
The banisters were an interesting challenge to say the least.
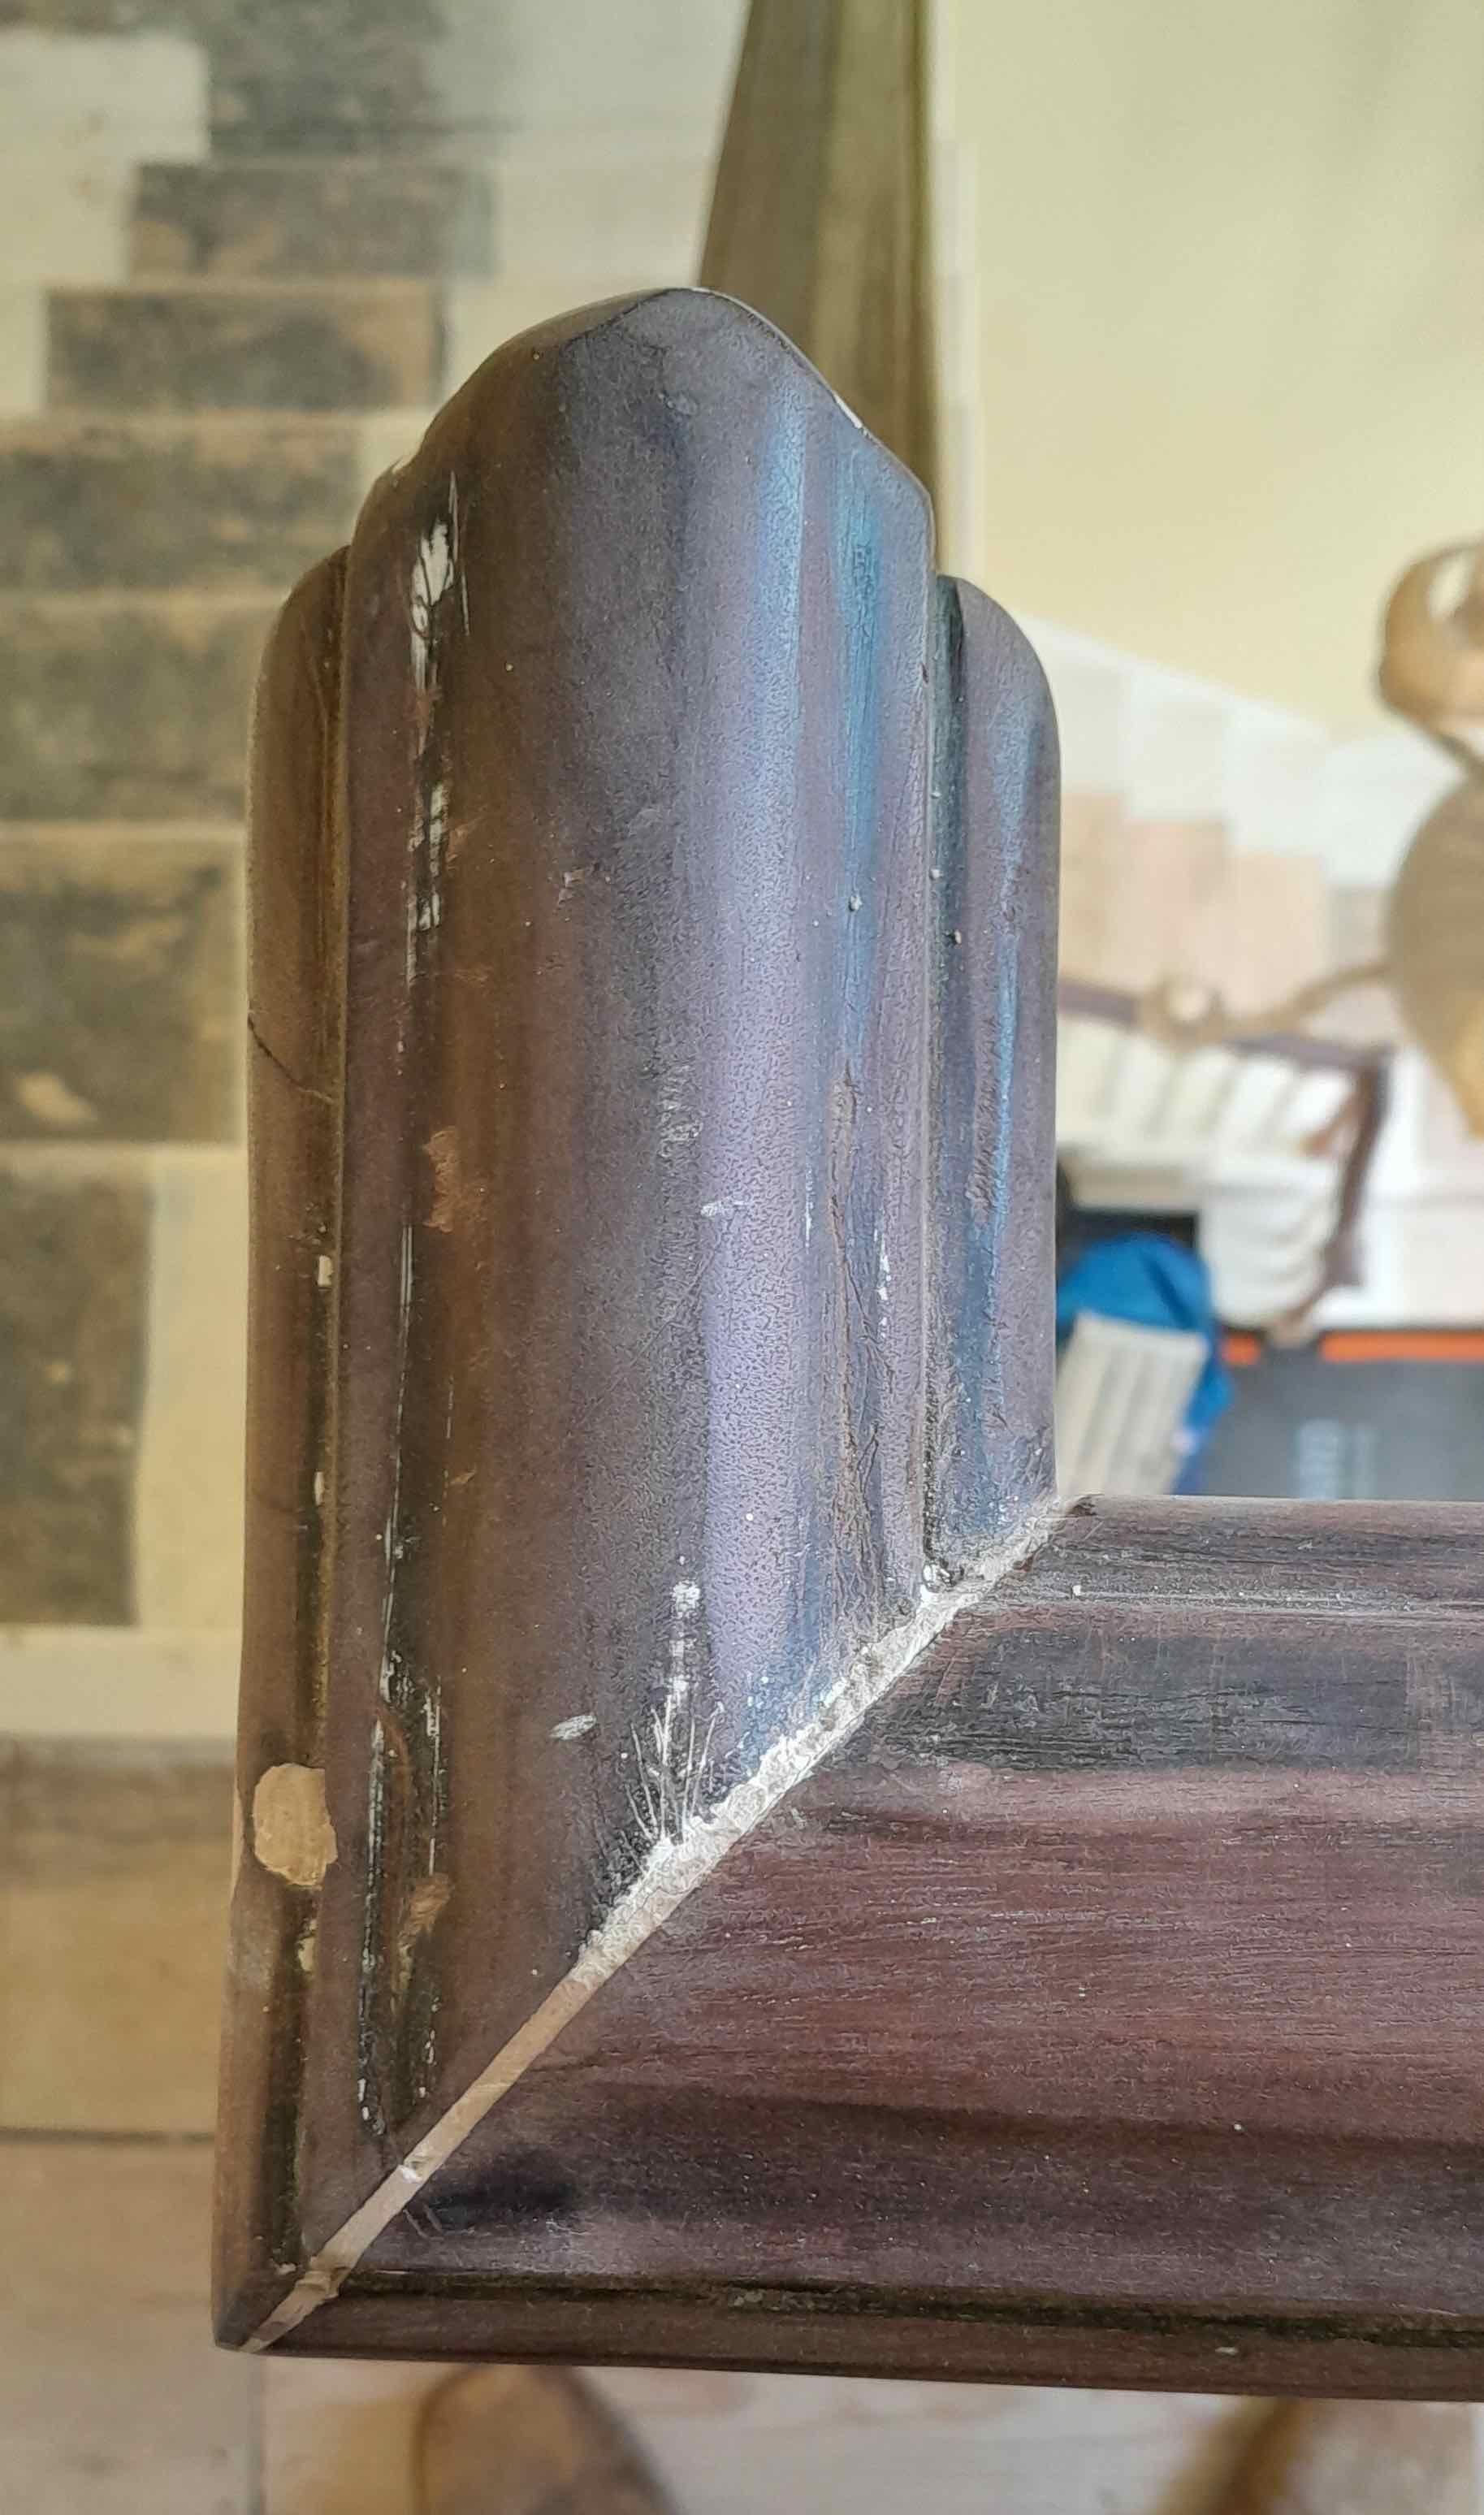
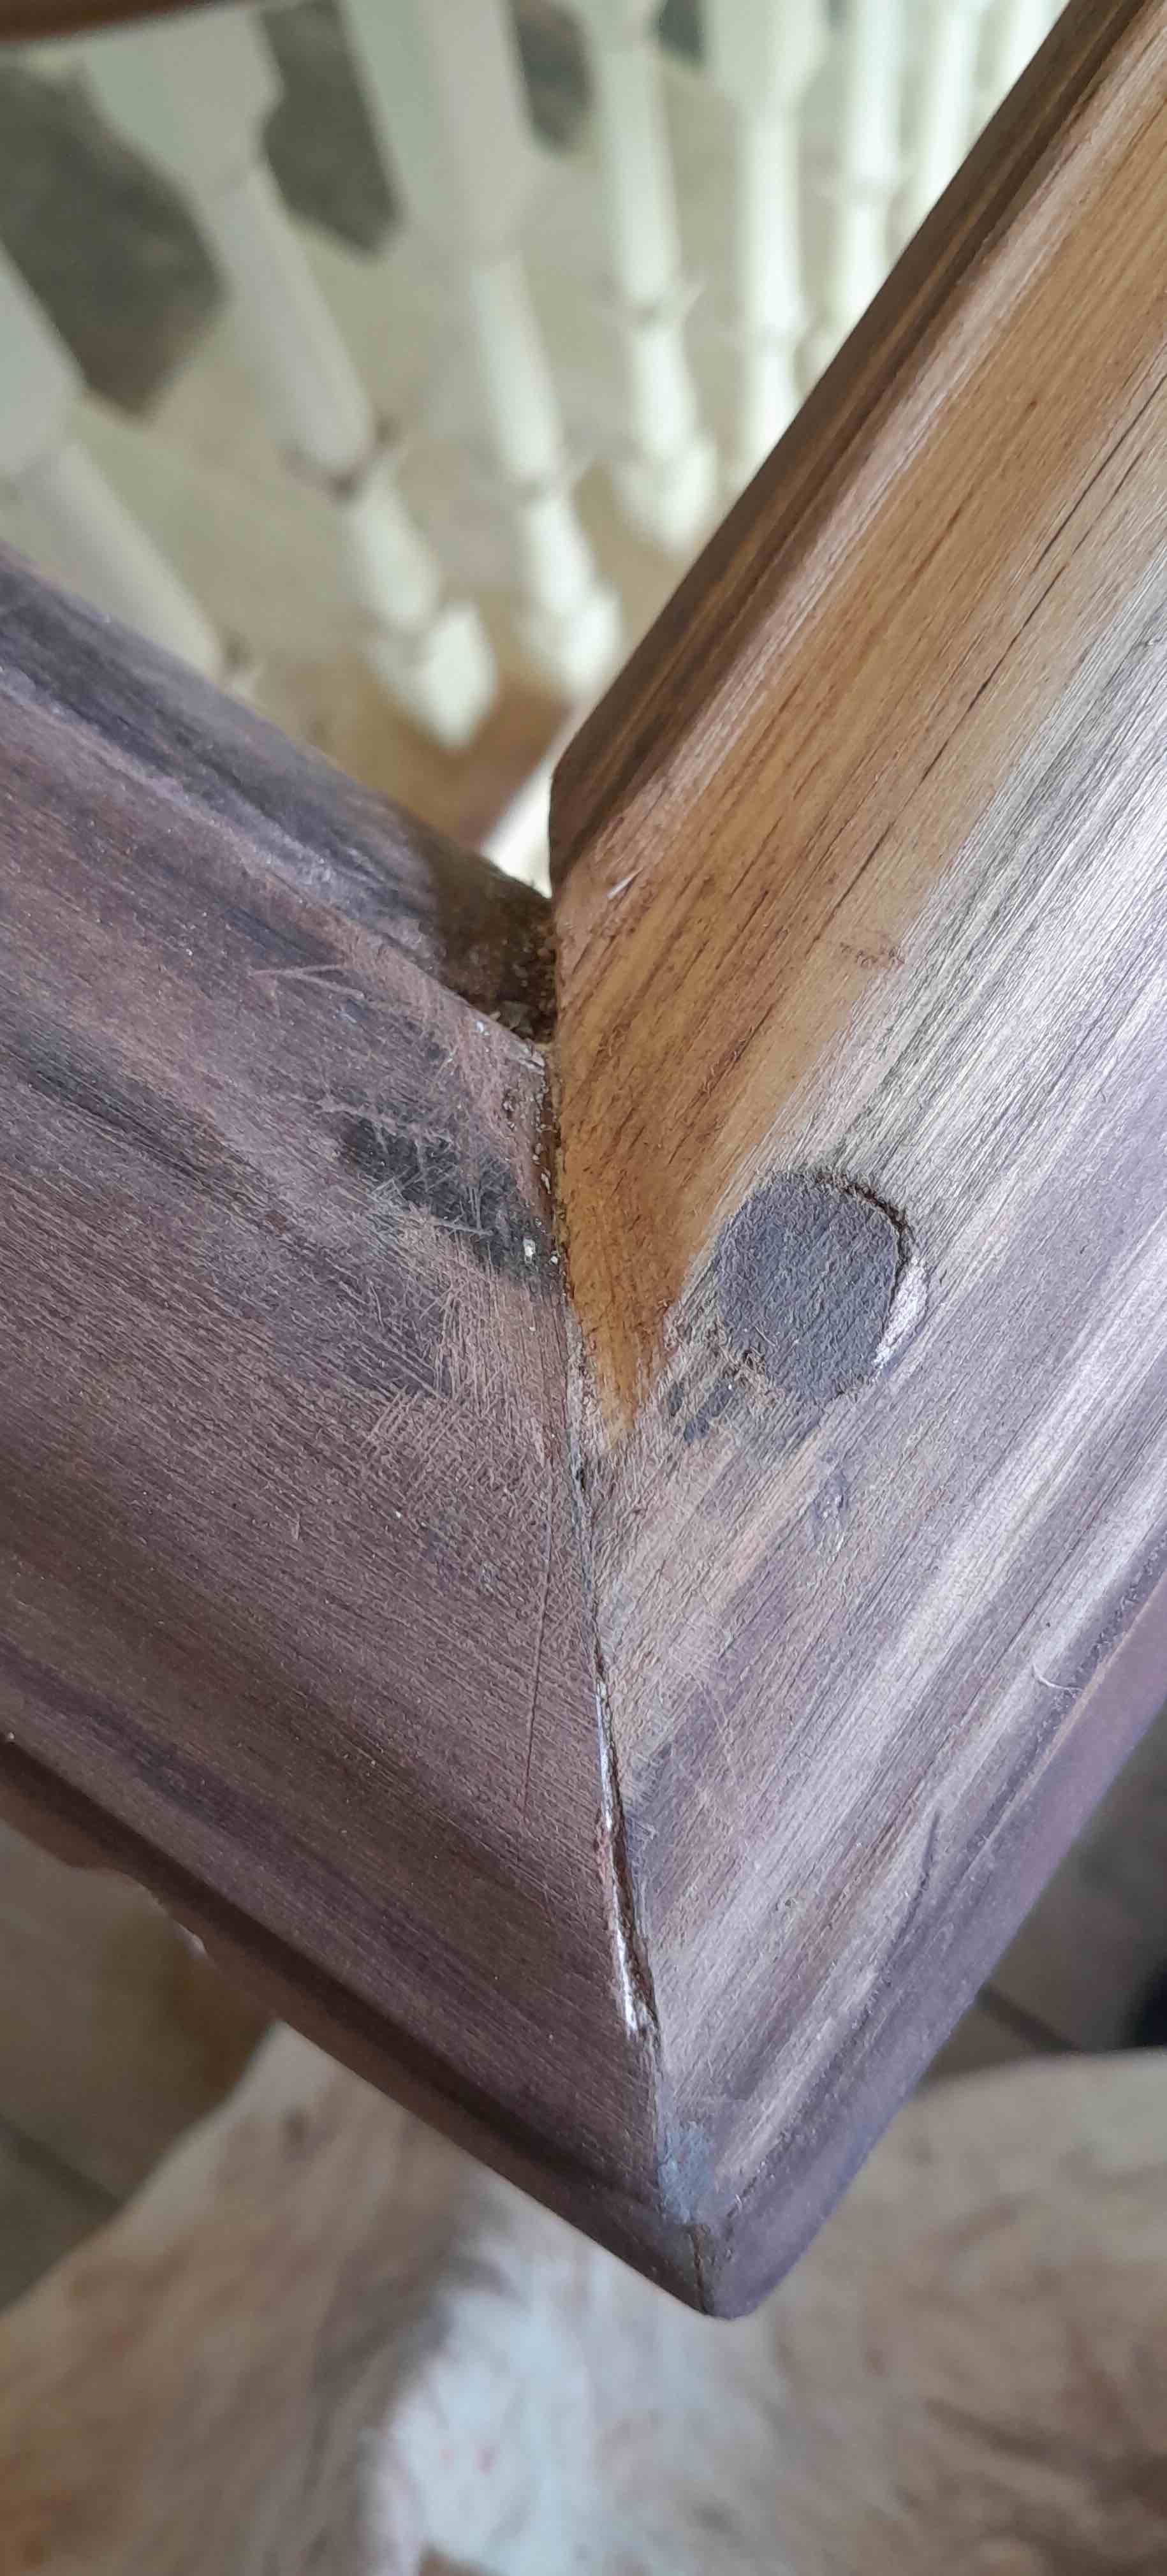
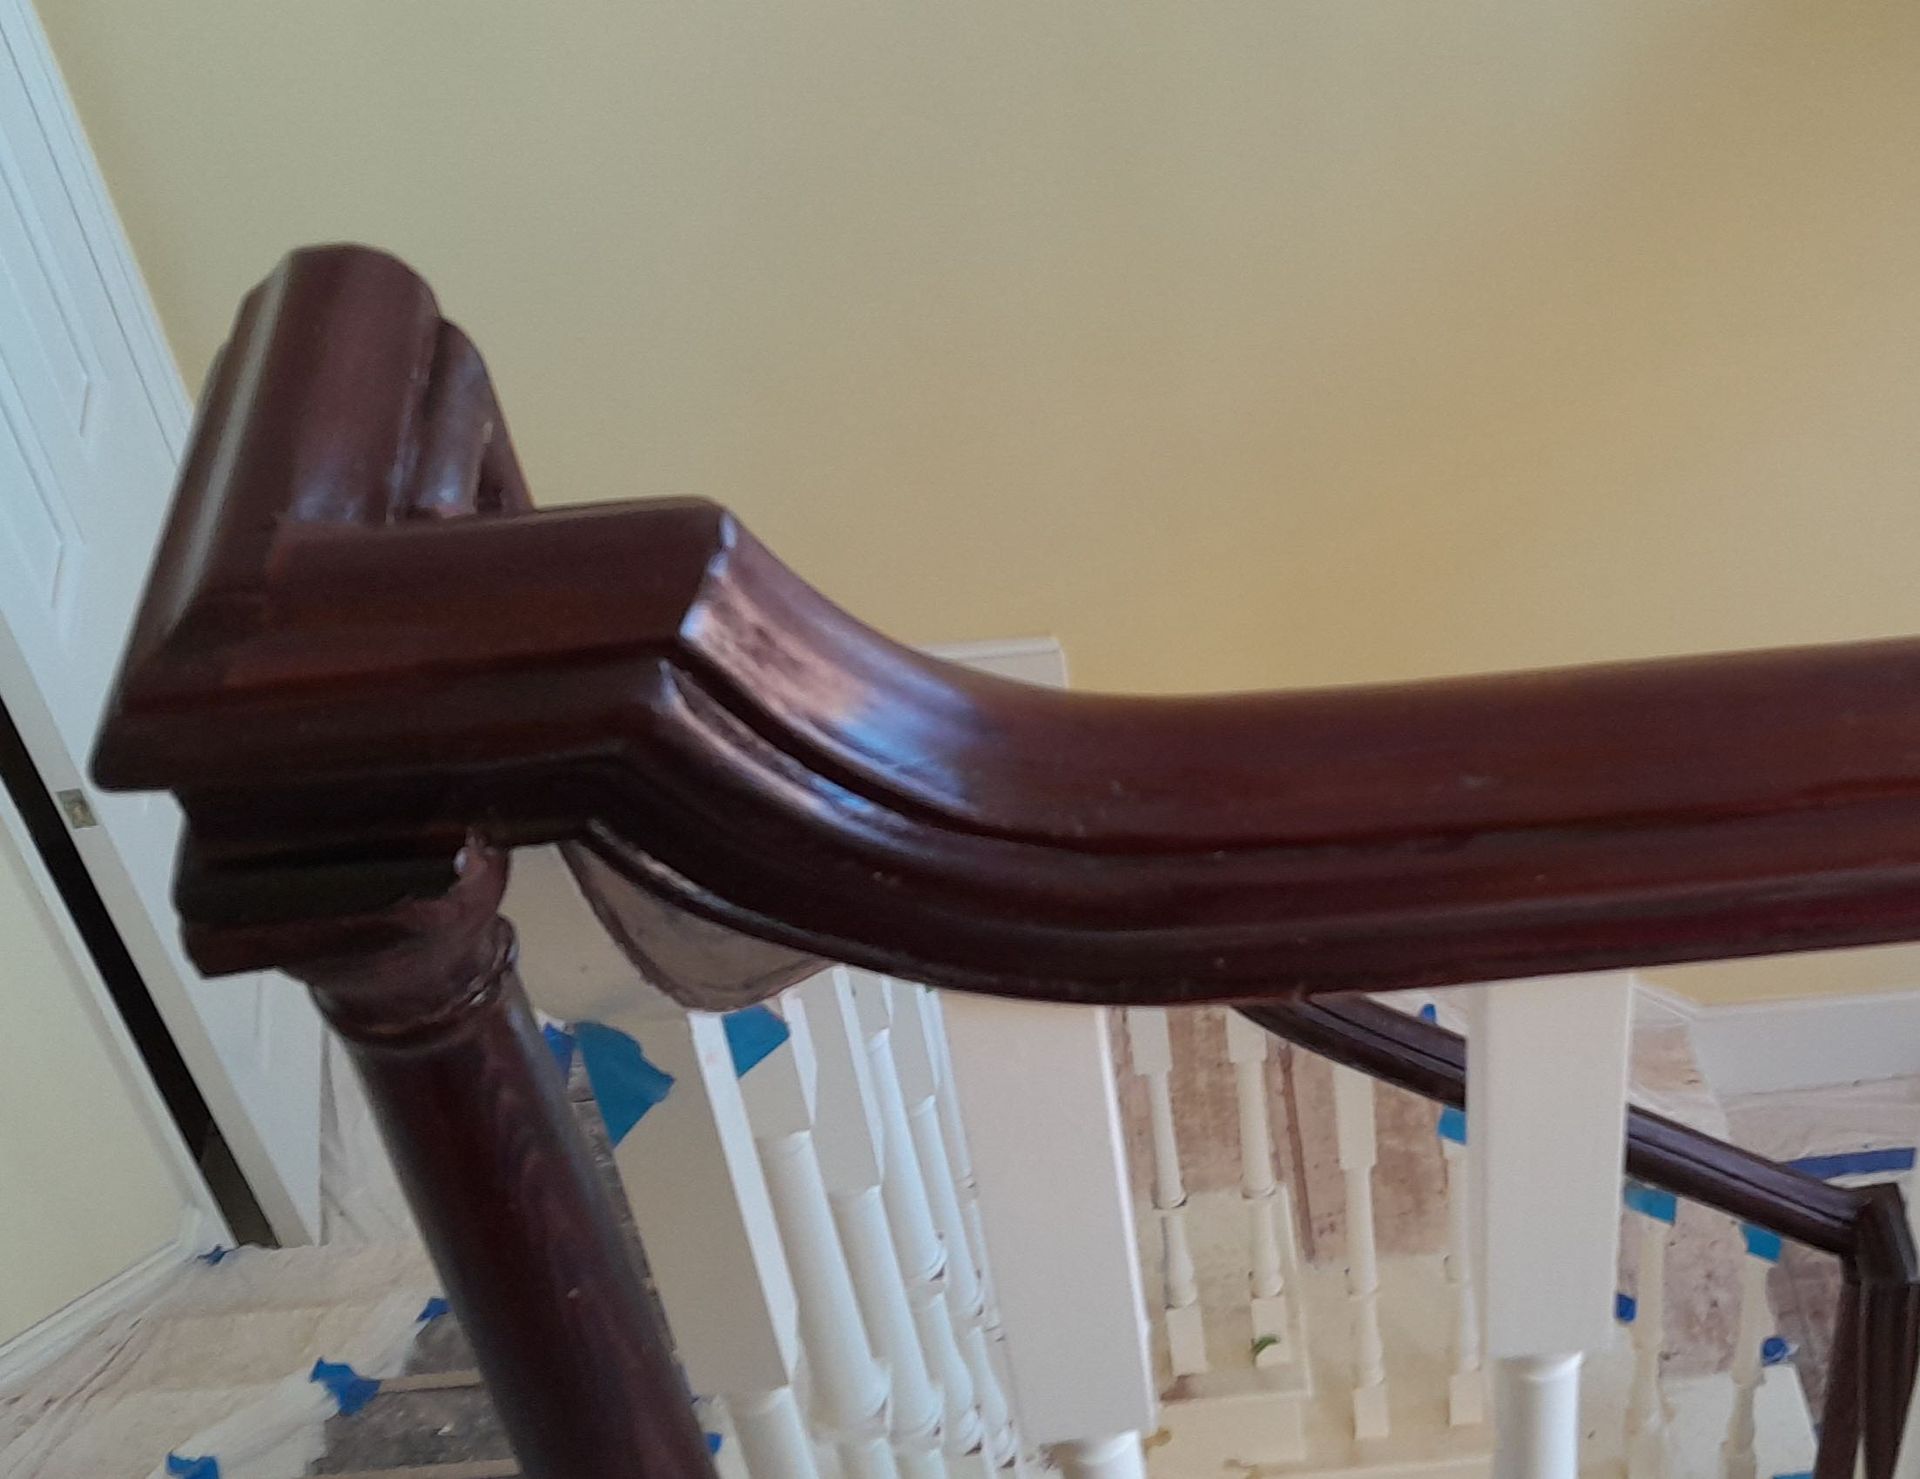
The house was built in 1751 and over the years since styles have changed, the once beautiful rich Mahogany handrail of the staircase banisters had been covered in white gloss paint, which had to be removed before being restored.
However, the person set the task of stripping the handrail and newels did so with a detail sander and paint scraper.
Now, for those who don't know, a detail sander is the ideal tool for getting into hard to sand corners on flat surfaces; they are NOT and I can't emphasise this enough, they are NOT ideal in any way shape or form for removing paint from curved or detailed surfaces, and as for the scraper well..............
Over the house's 270 year existence it had taken on many different guises from family dwelling - school - hotel - airb&b - flats and throughout these changes the orientation of the staircase had changed several times. The last changes and alterations probably in the 1980's had been carried out by someone with dubious skills for the job.

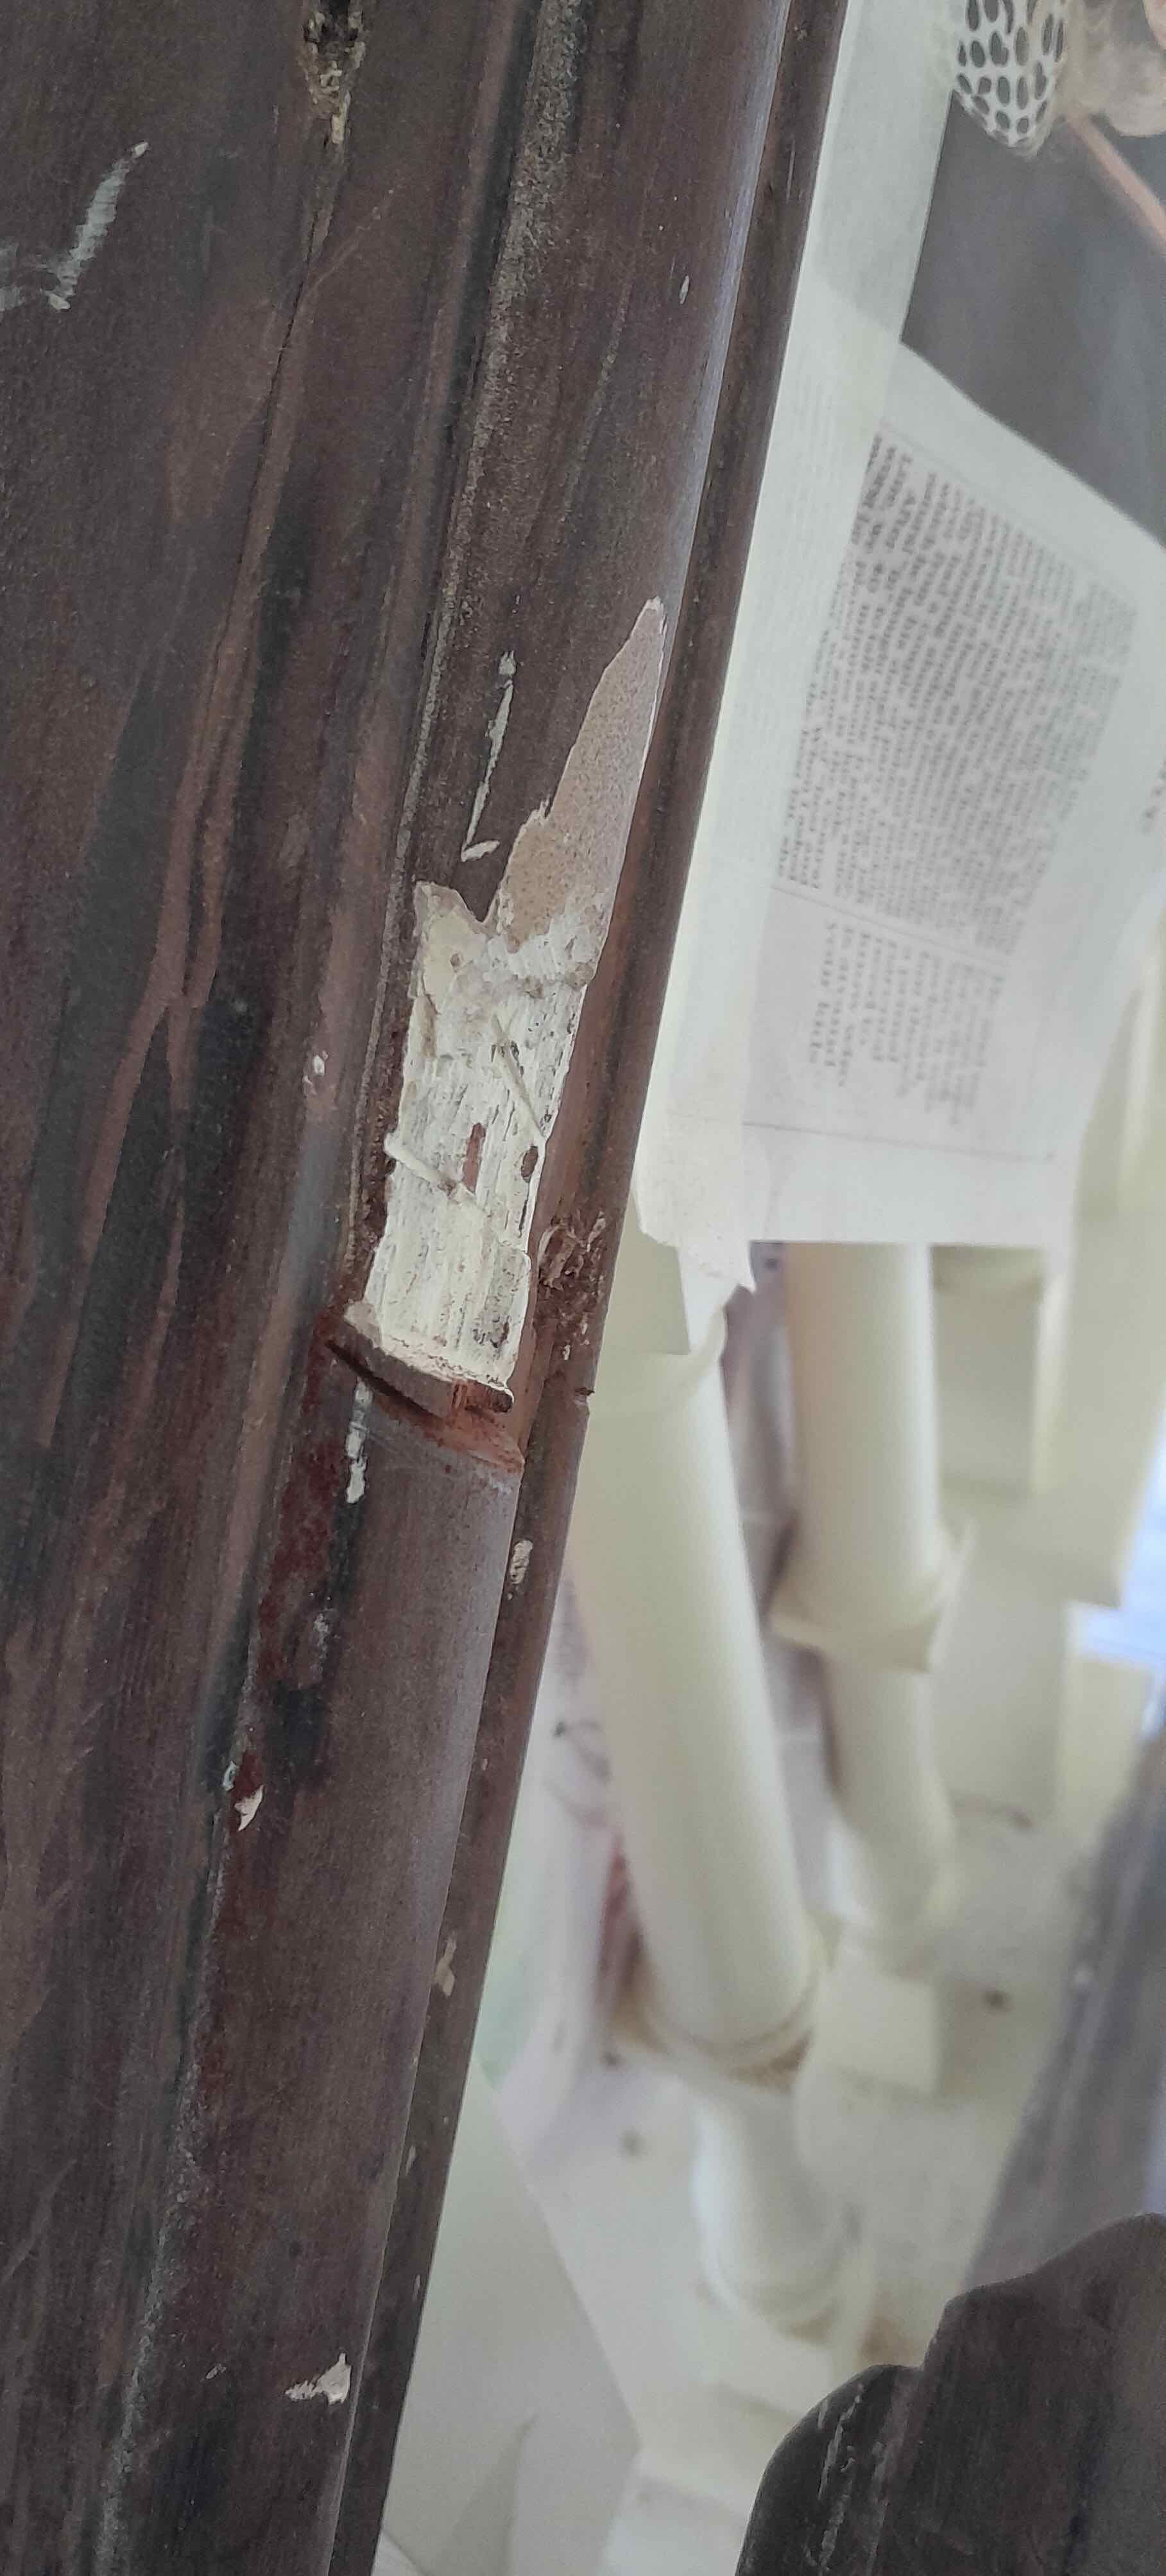
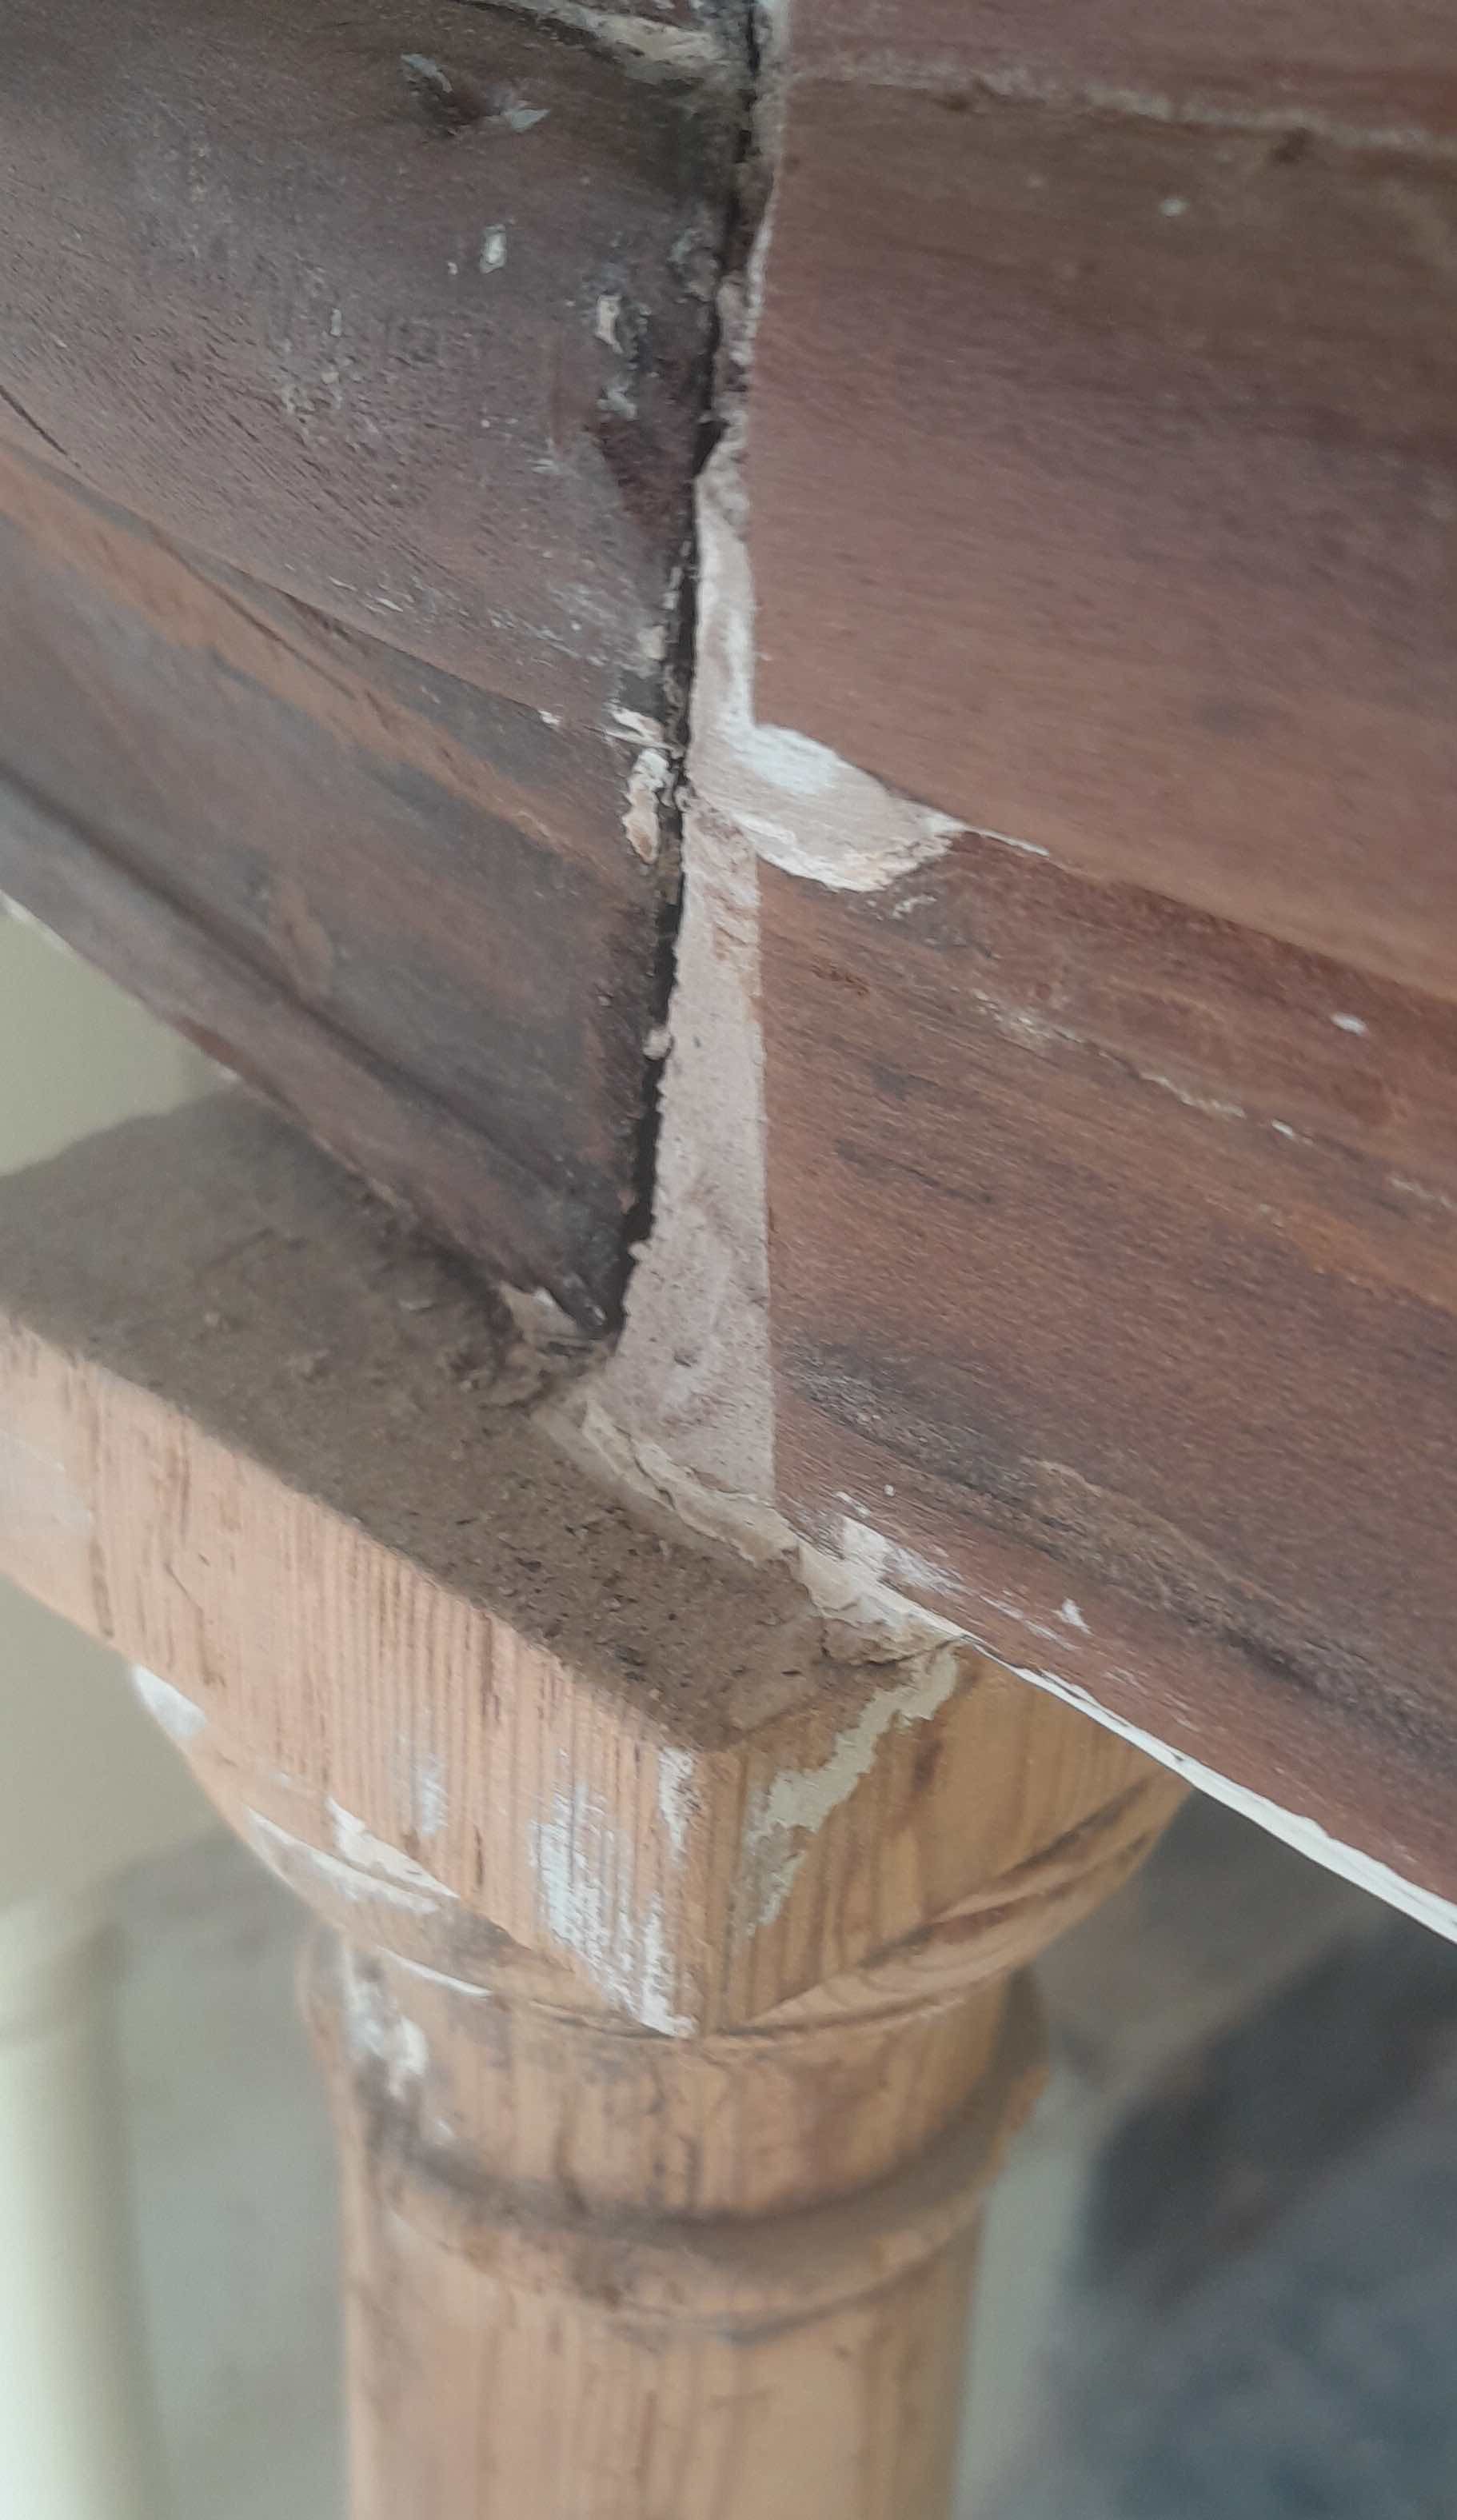
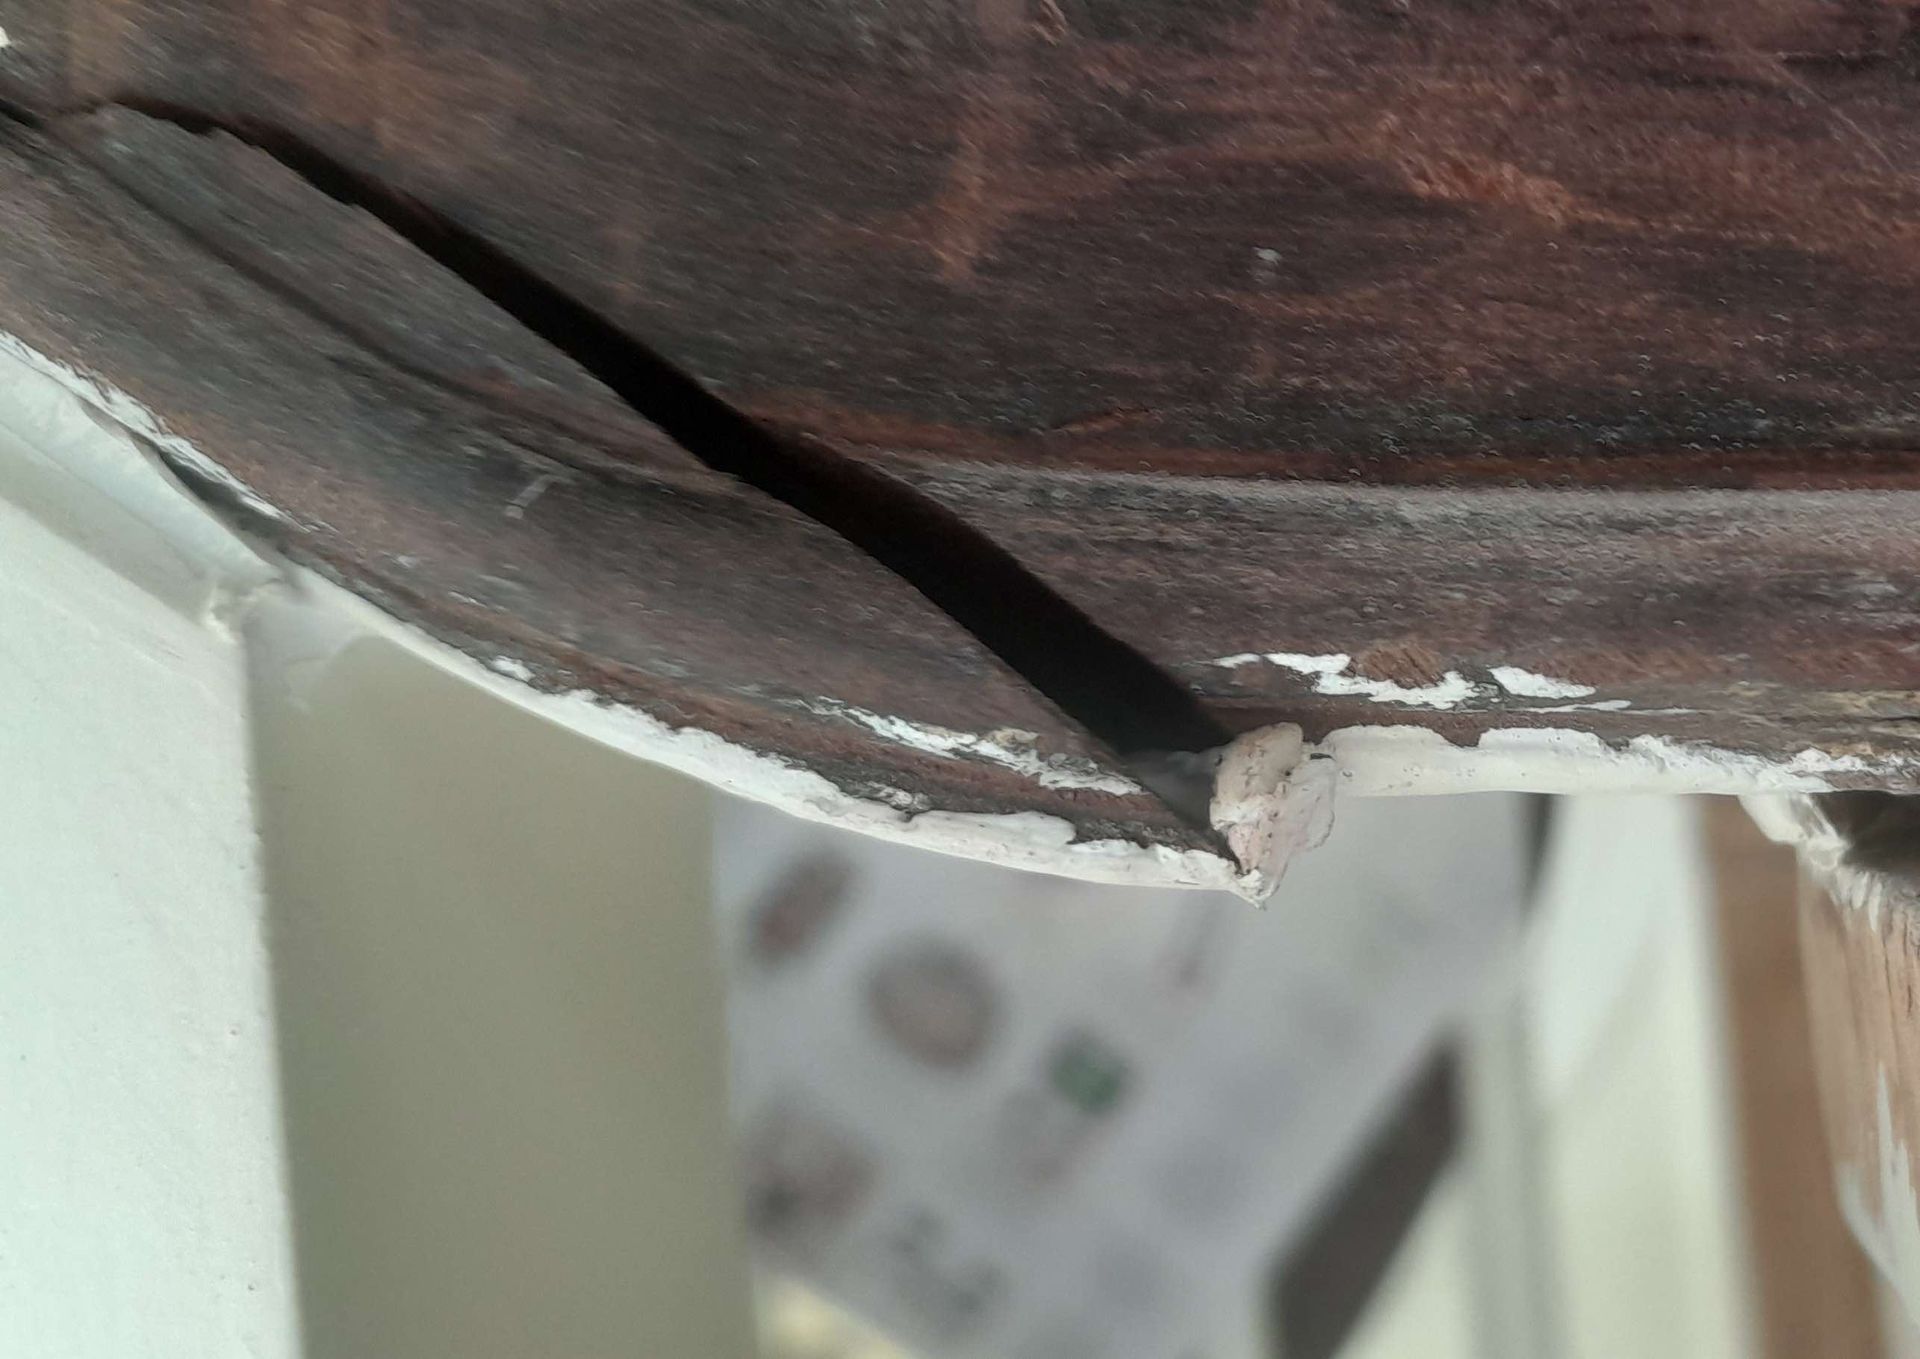
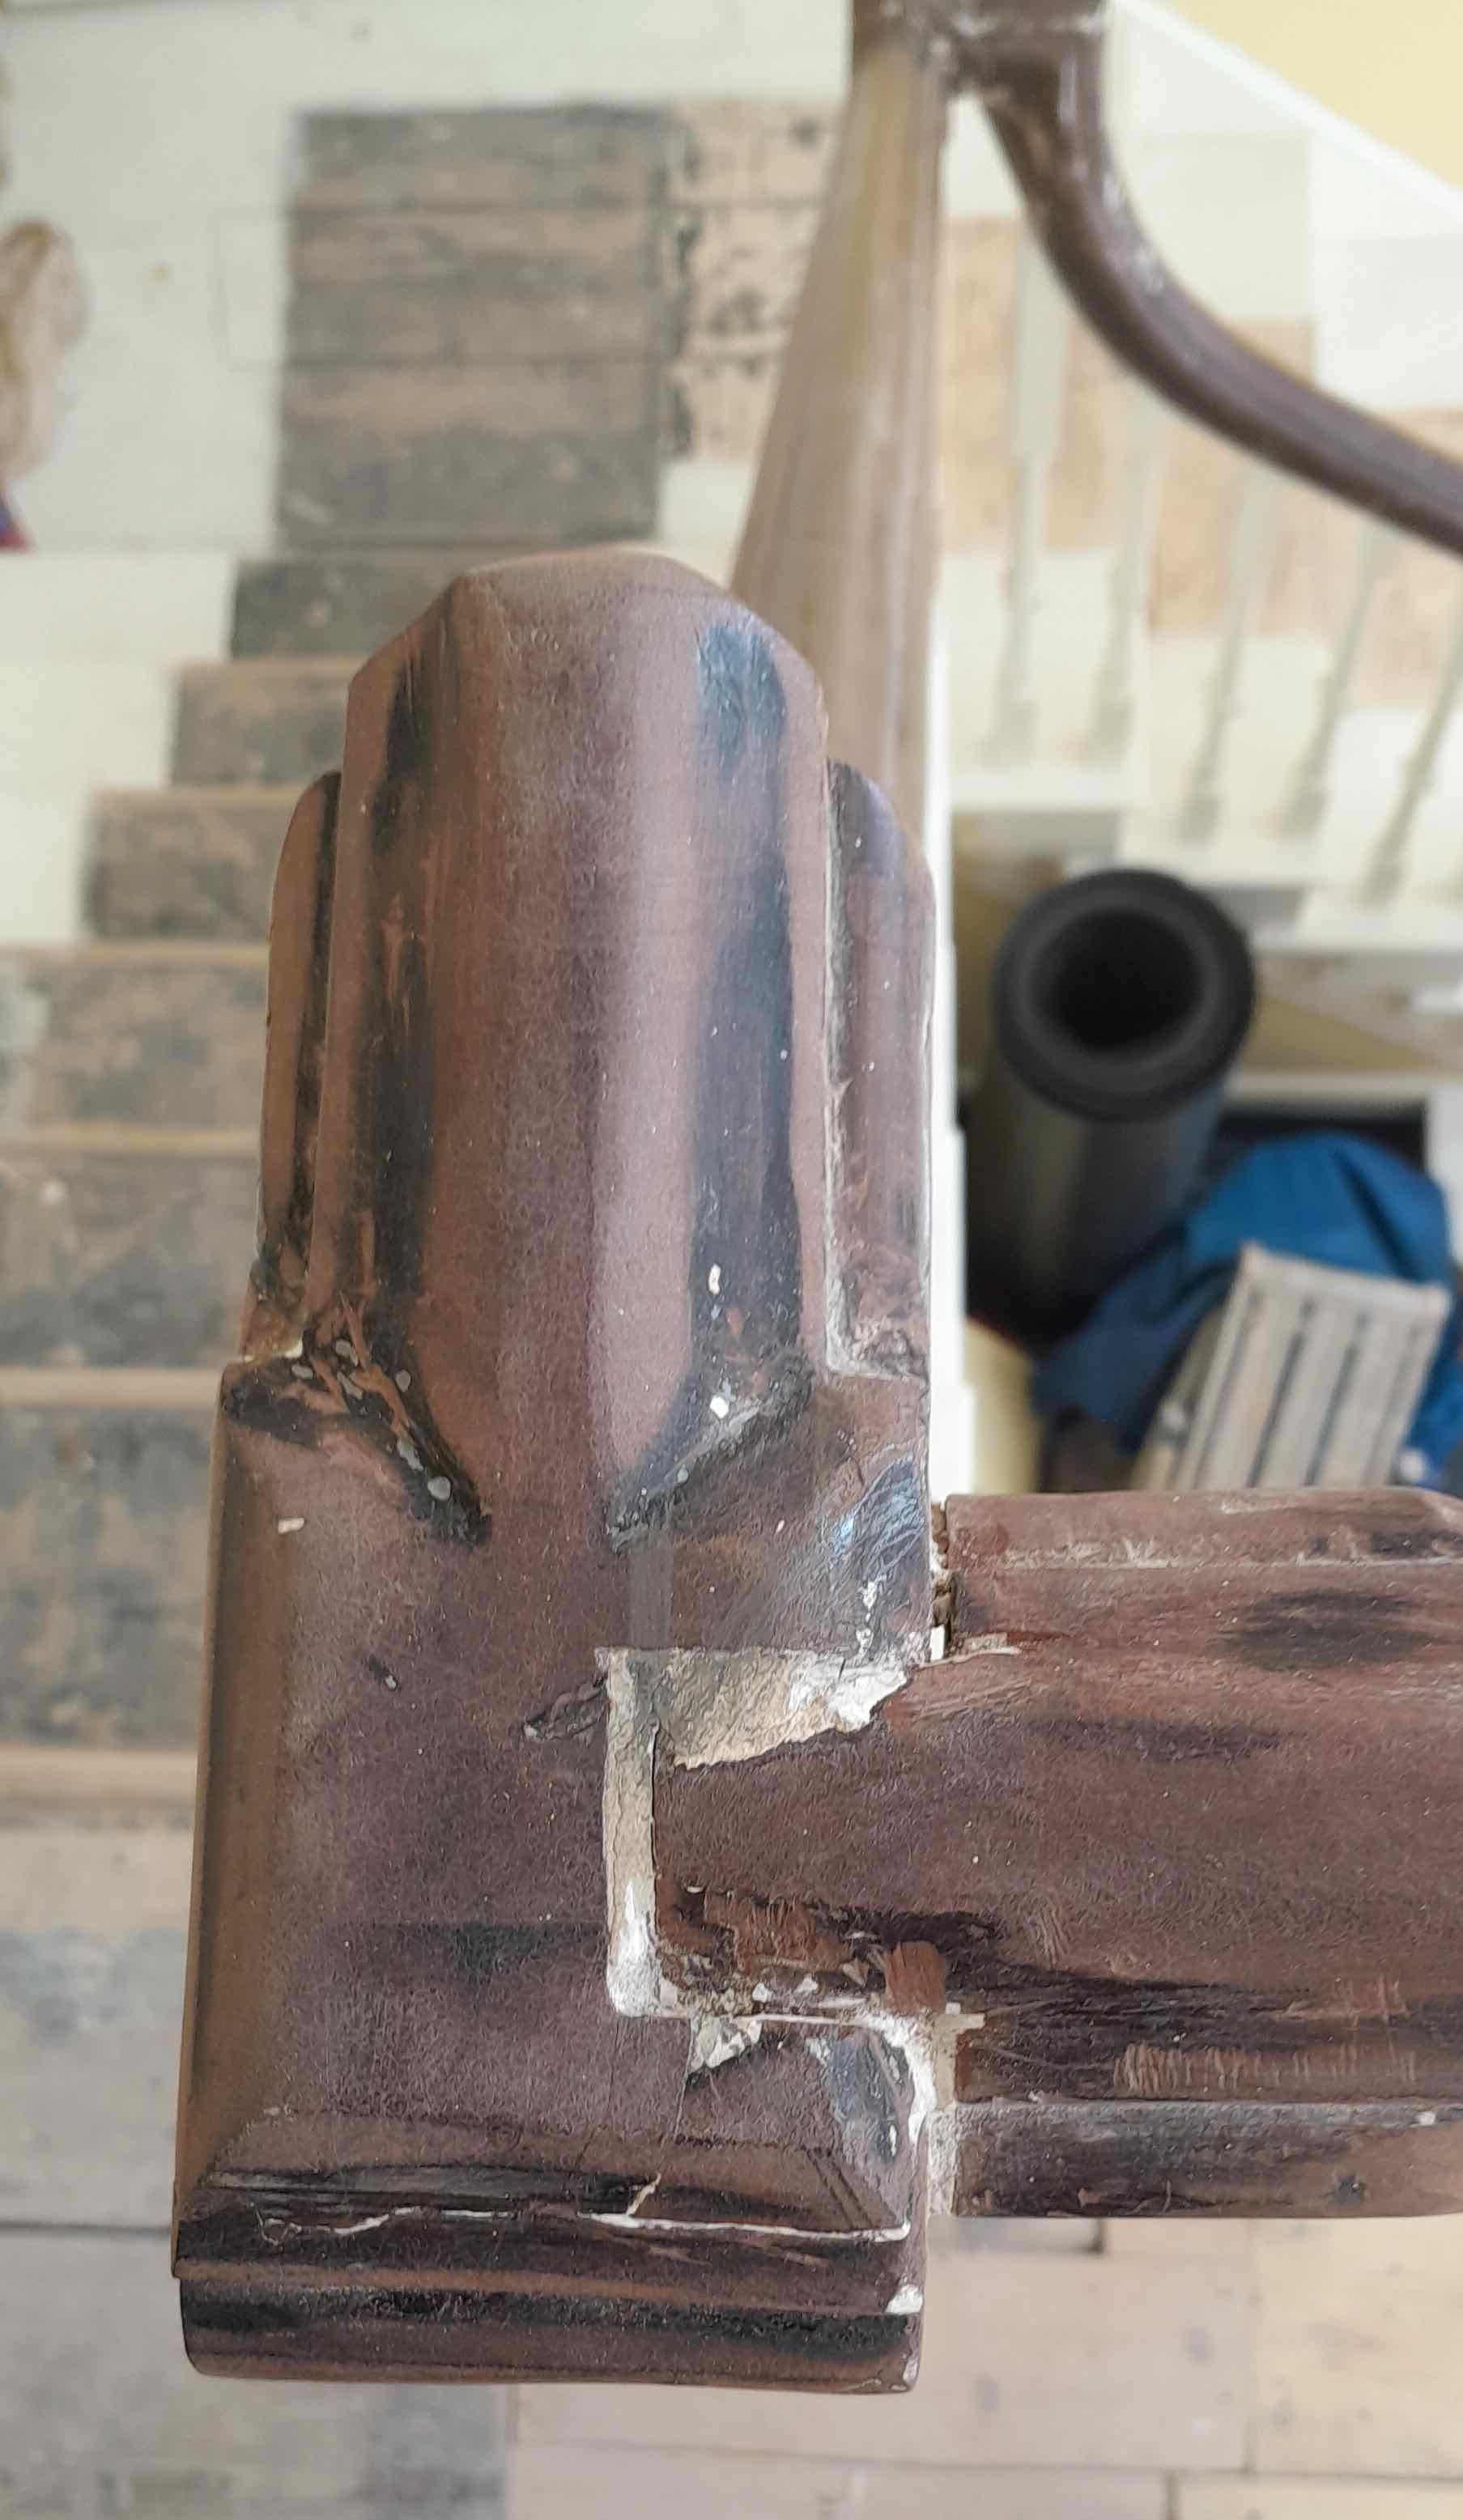
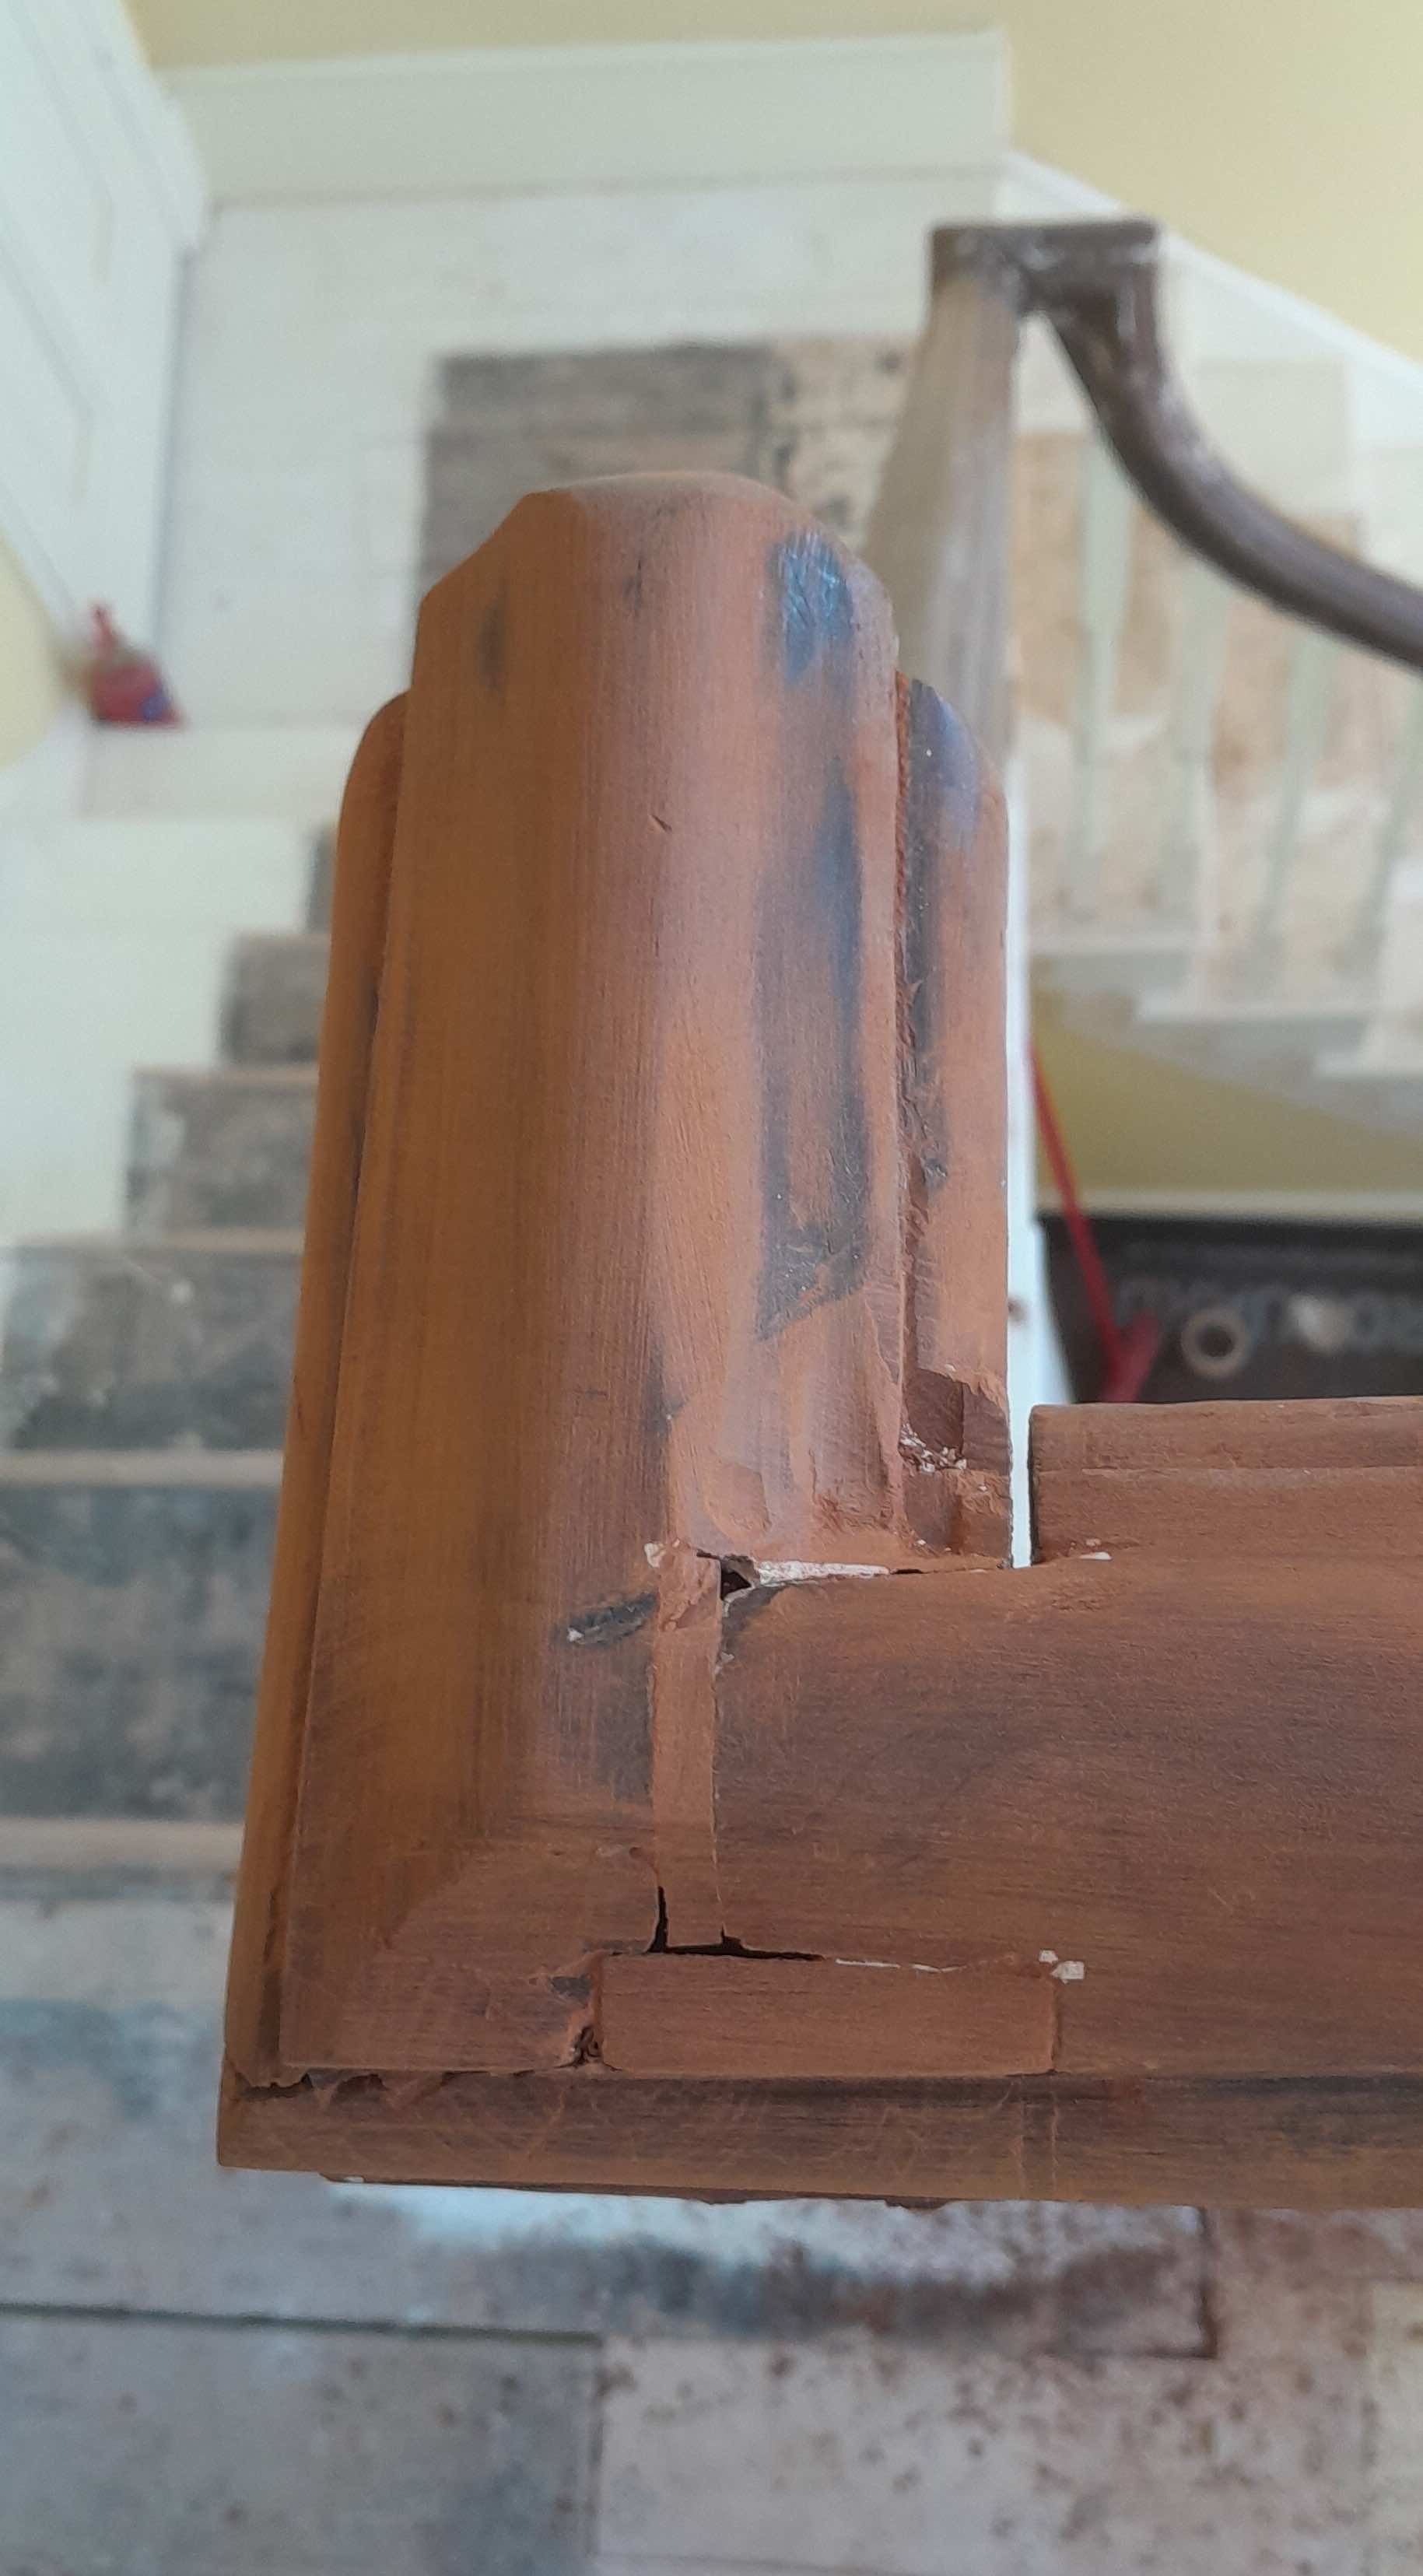
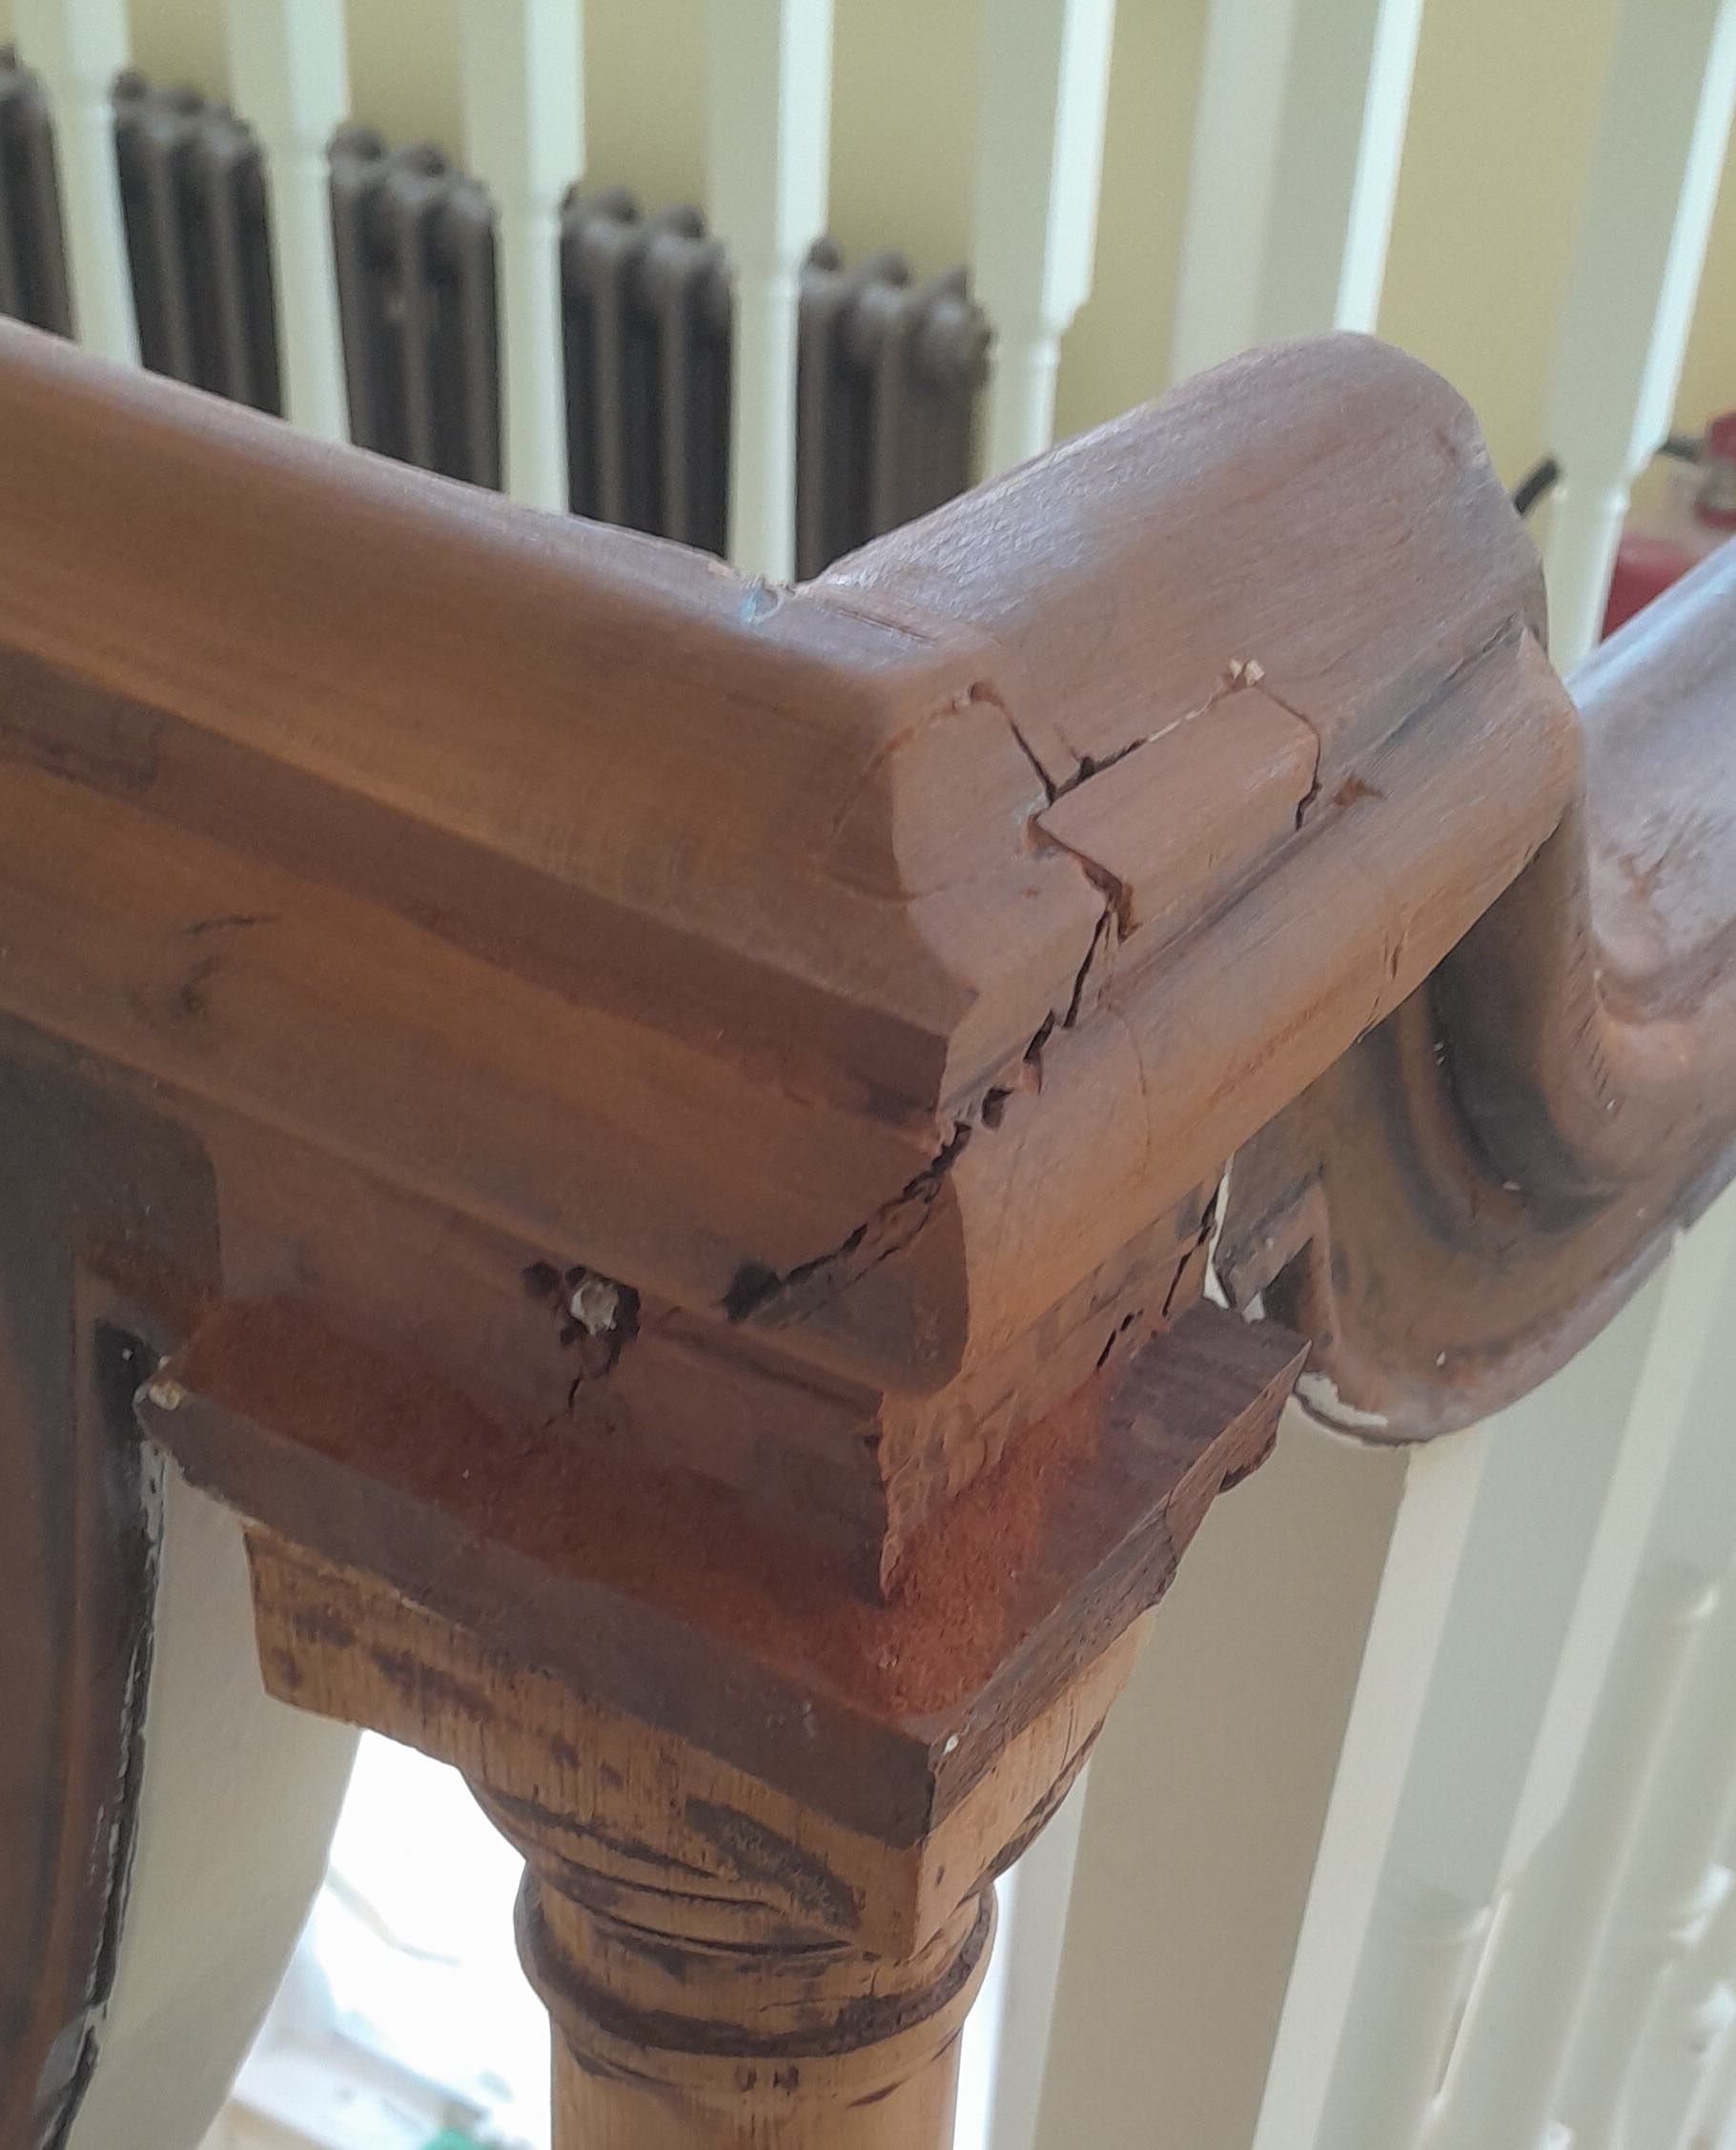
Judging by the amount of 2 pack filler, it would seem whoever did the alterations had shares in an auto repair shop!
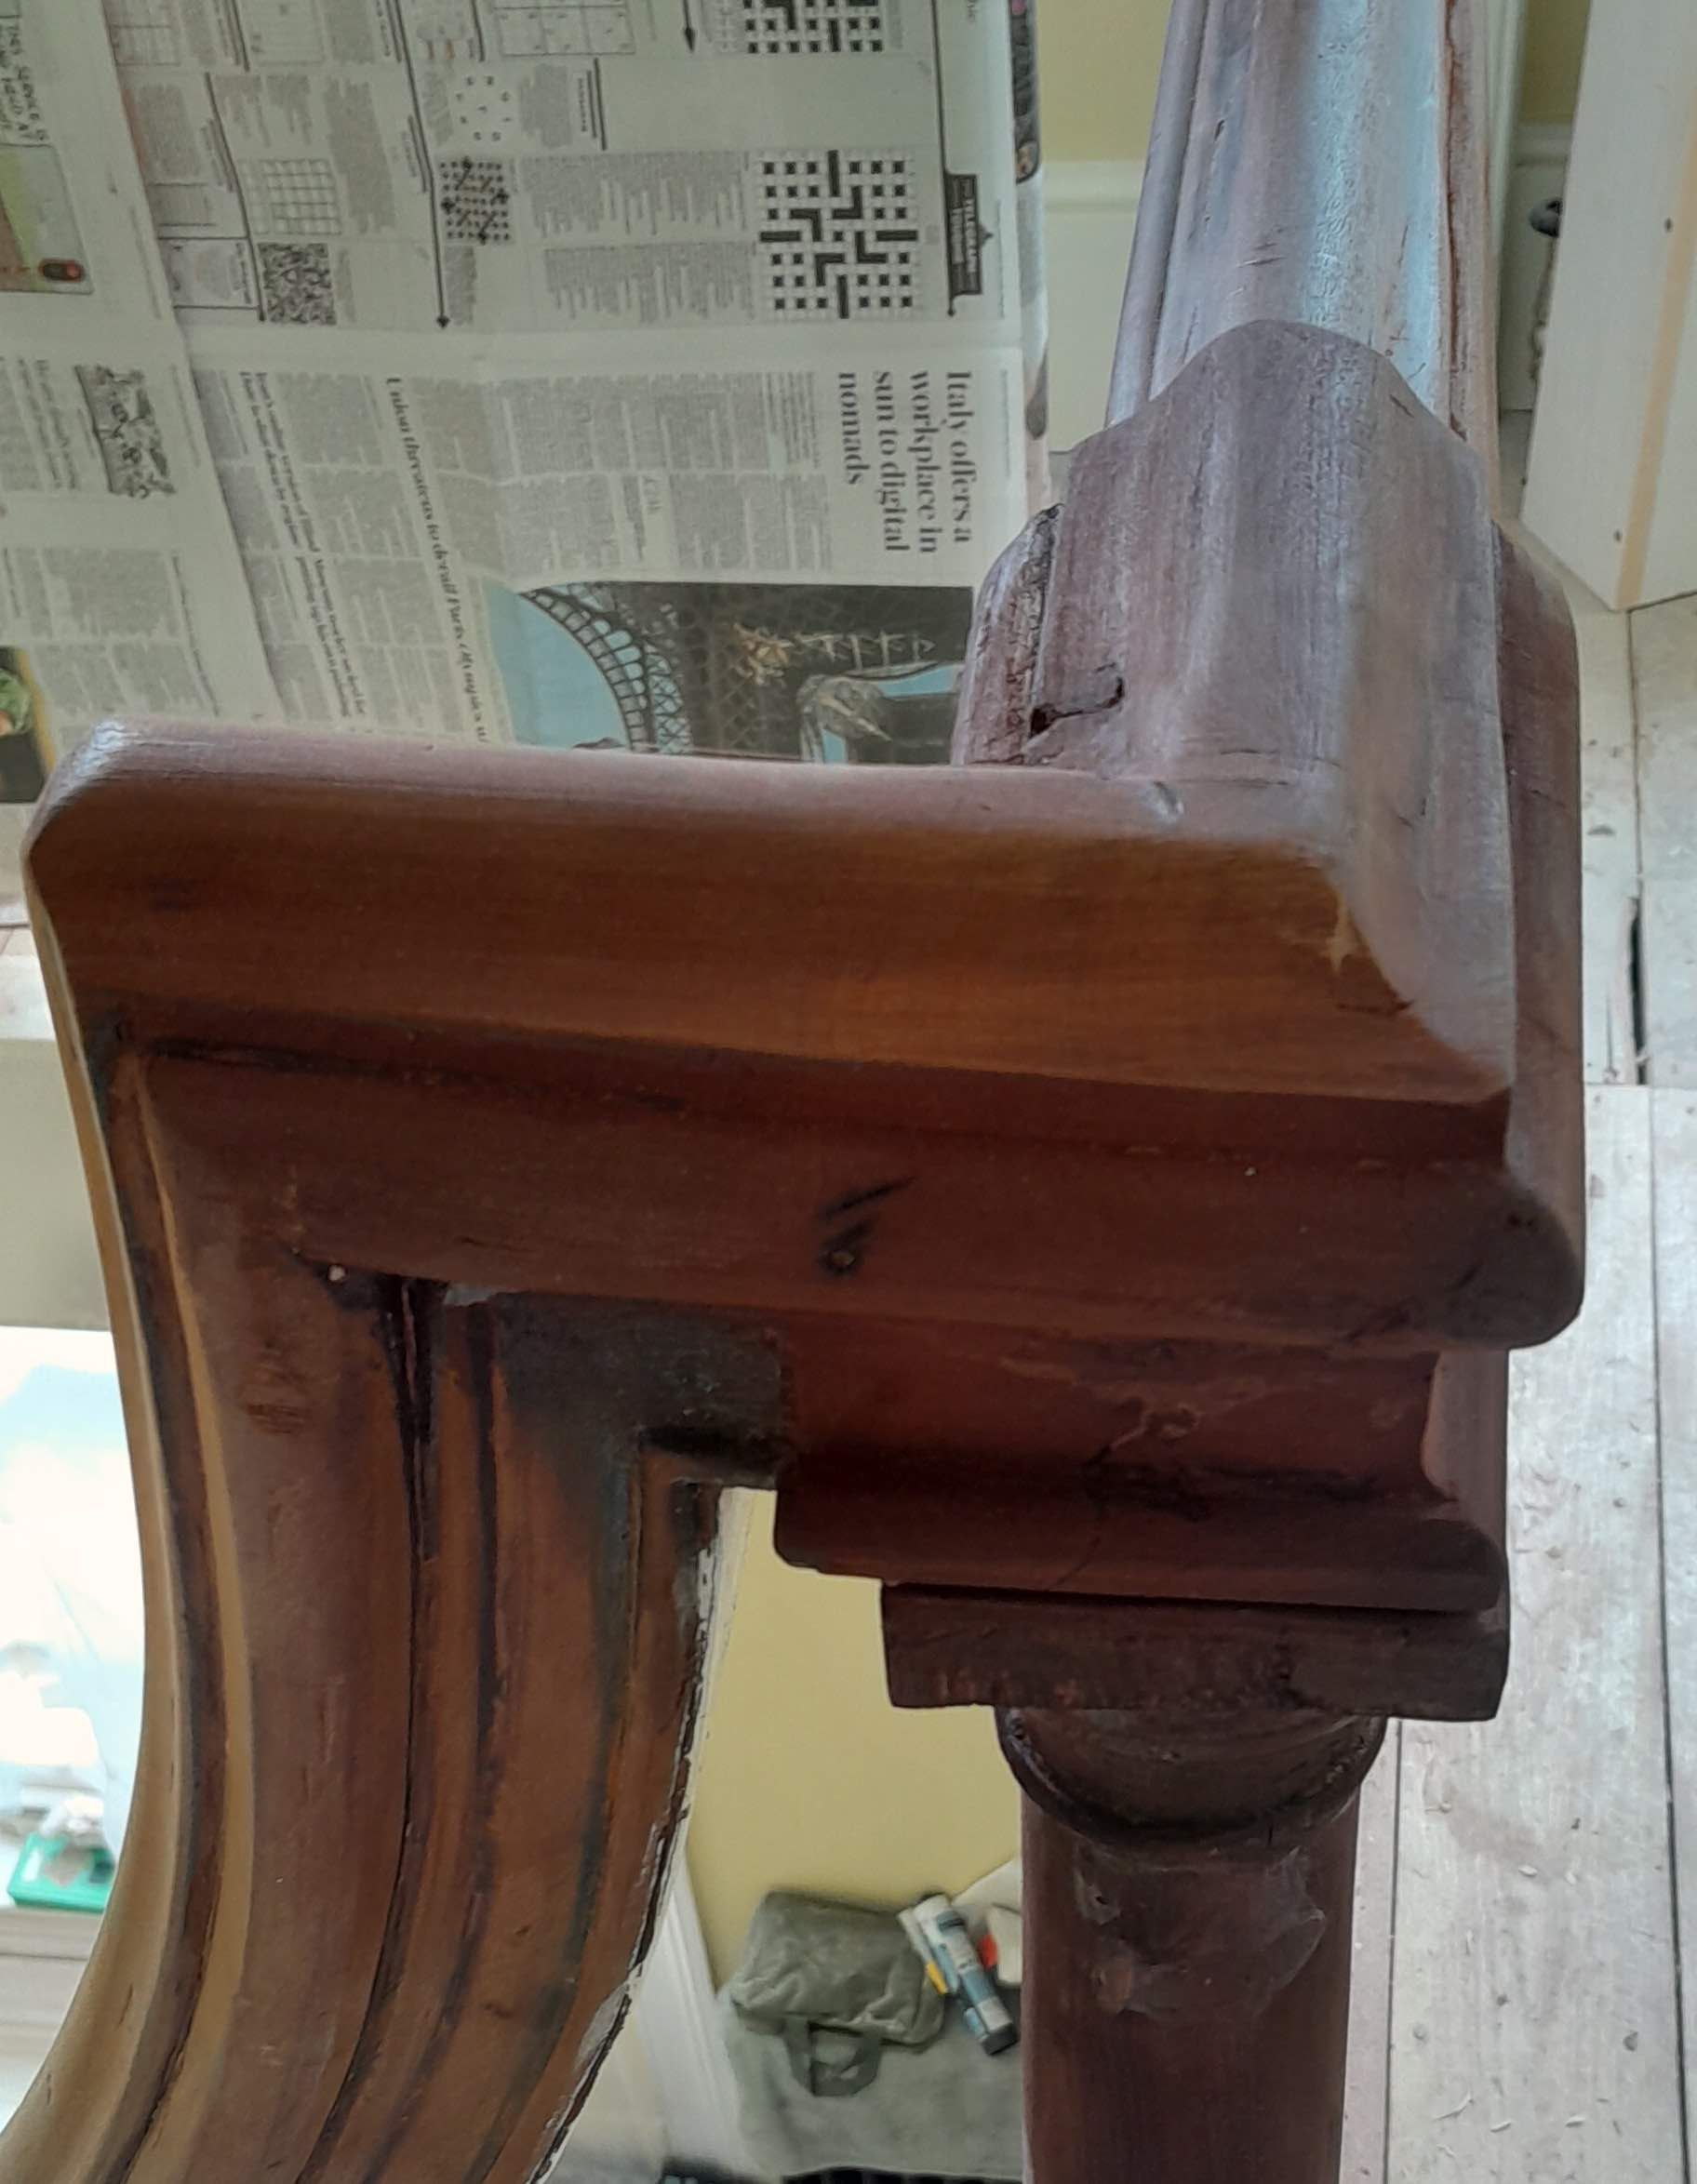
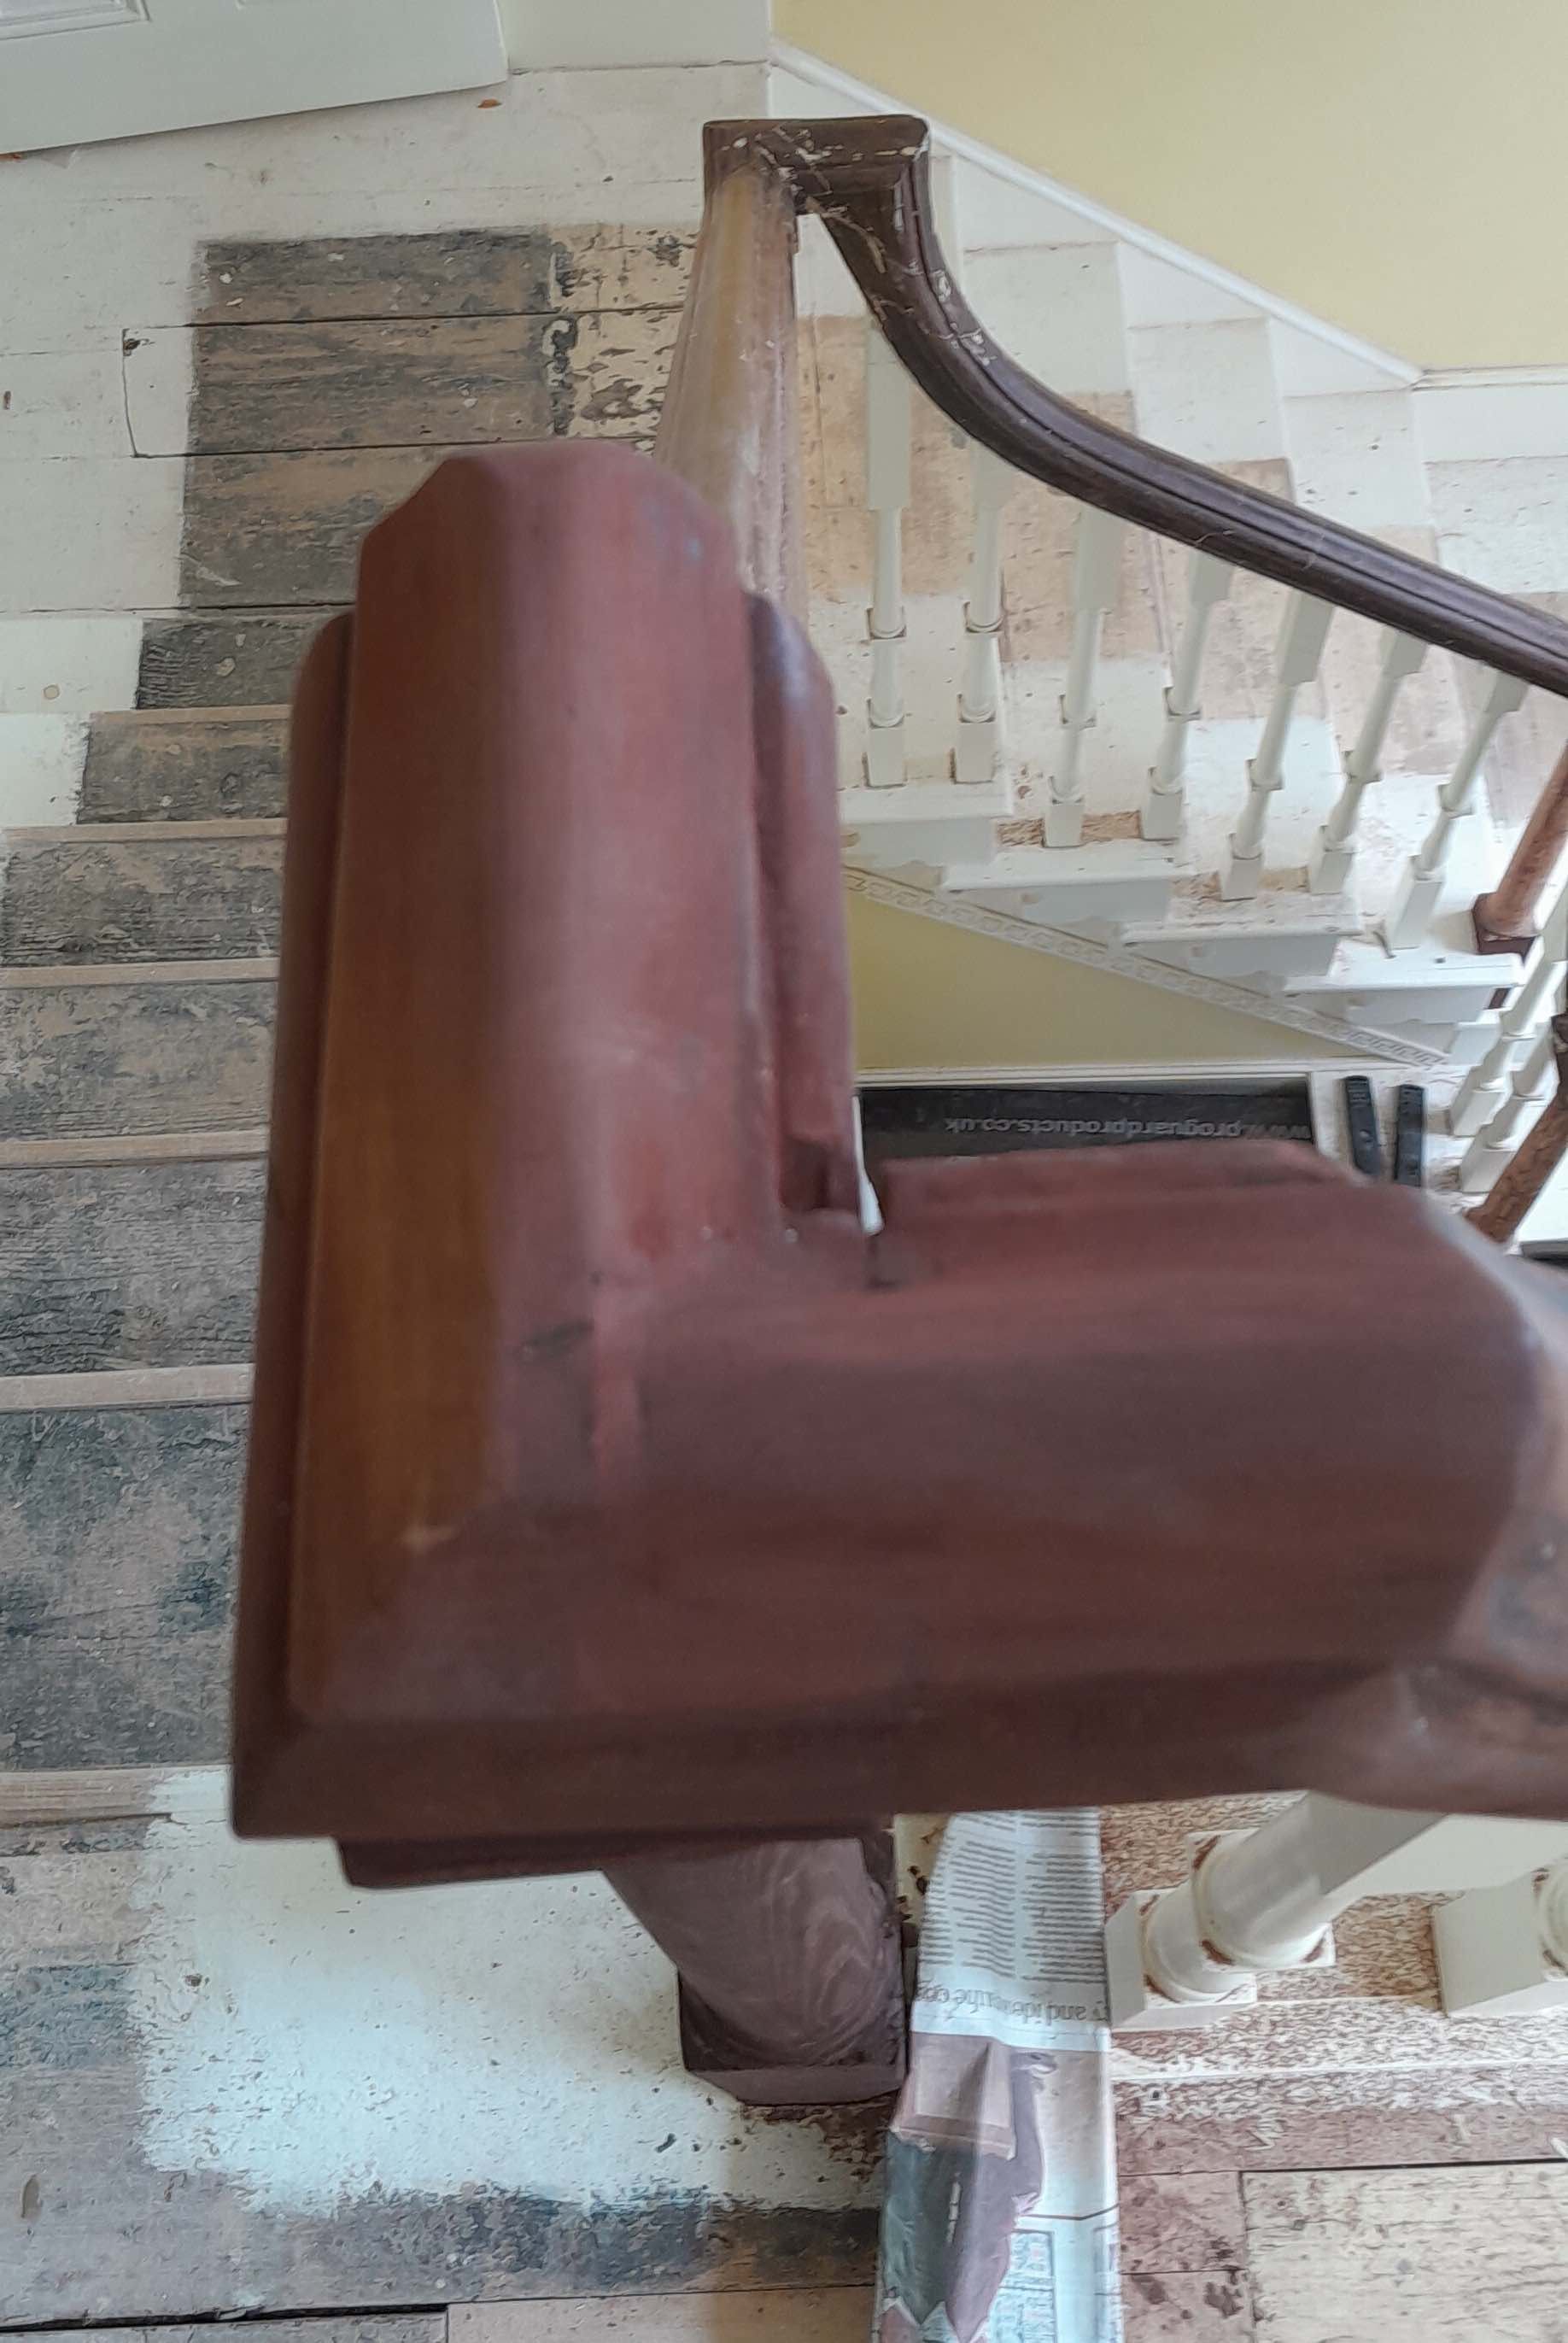
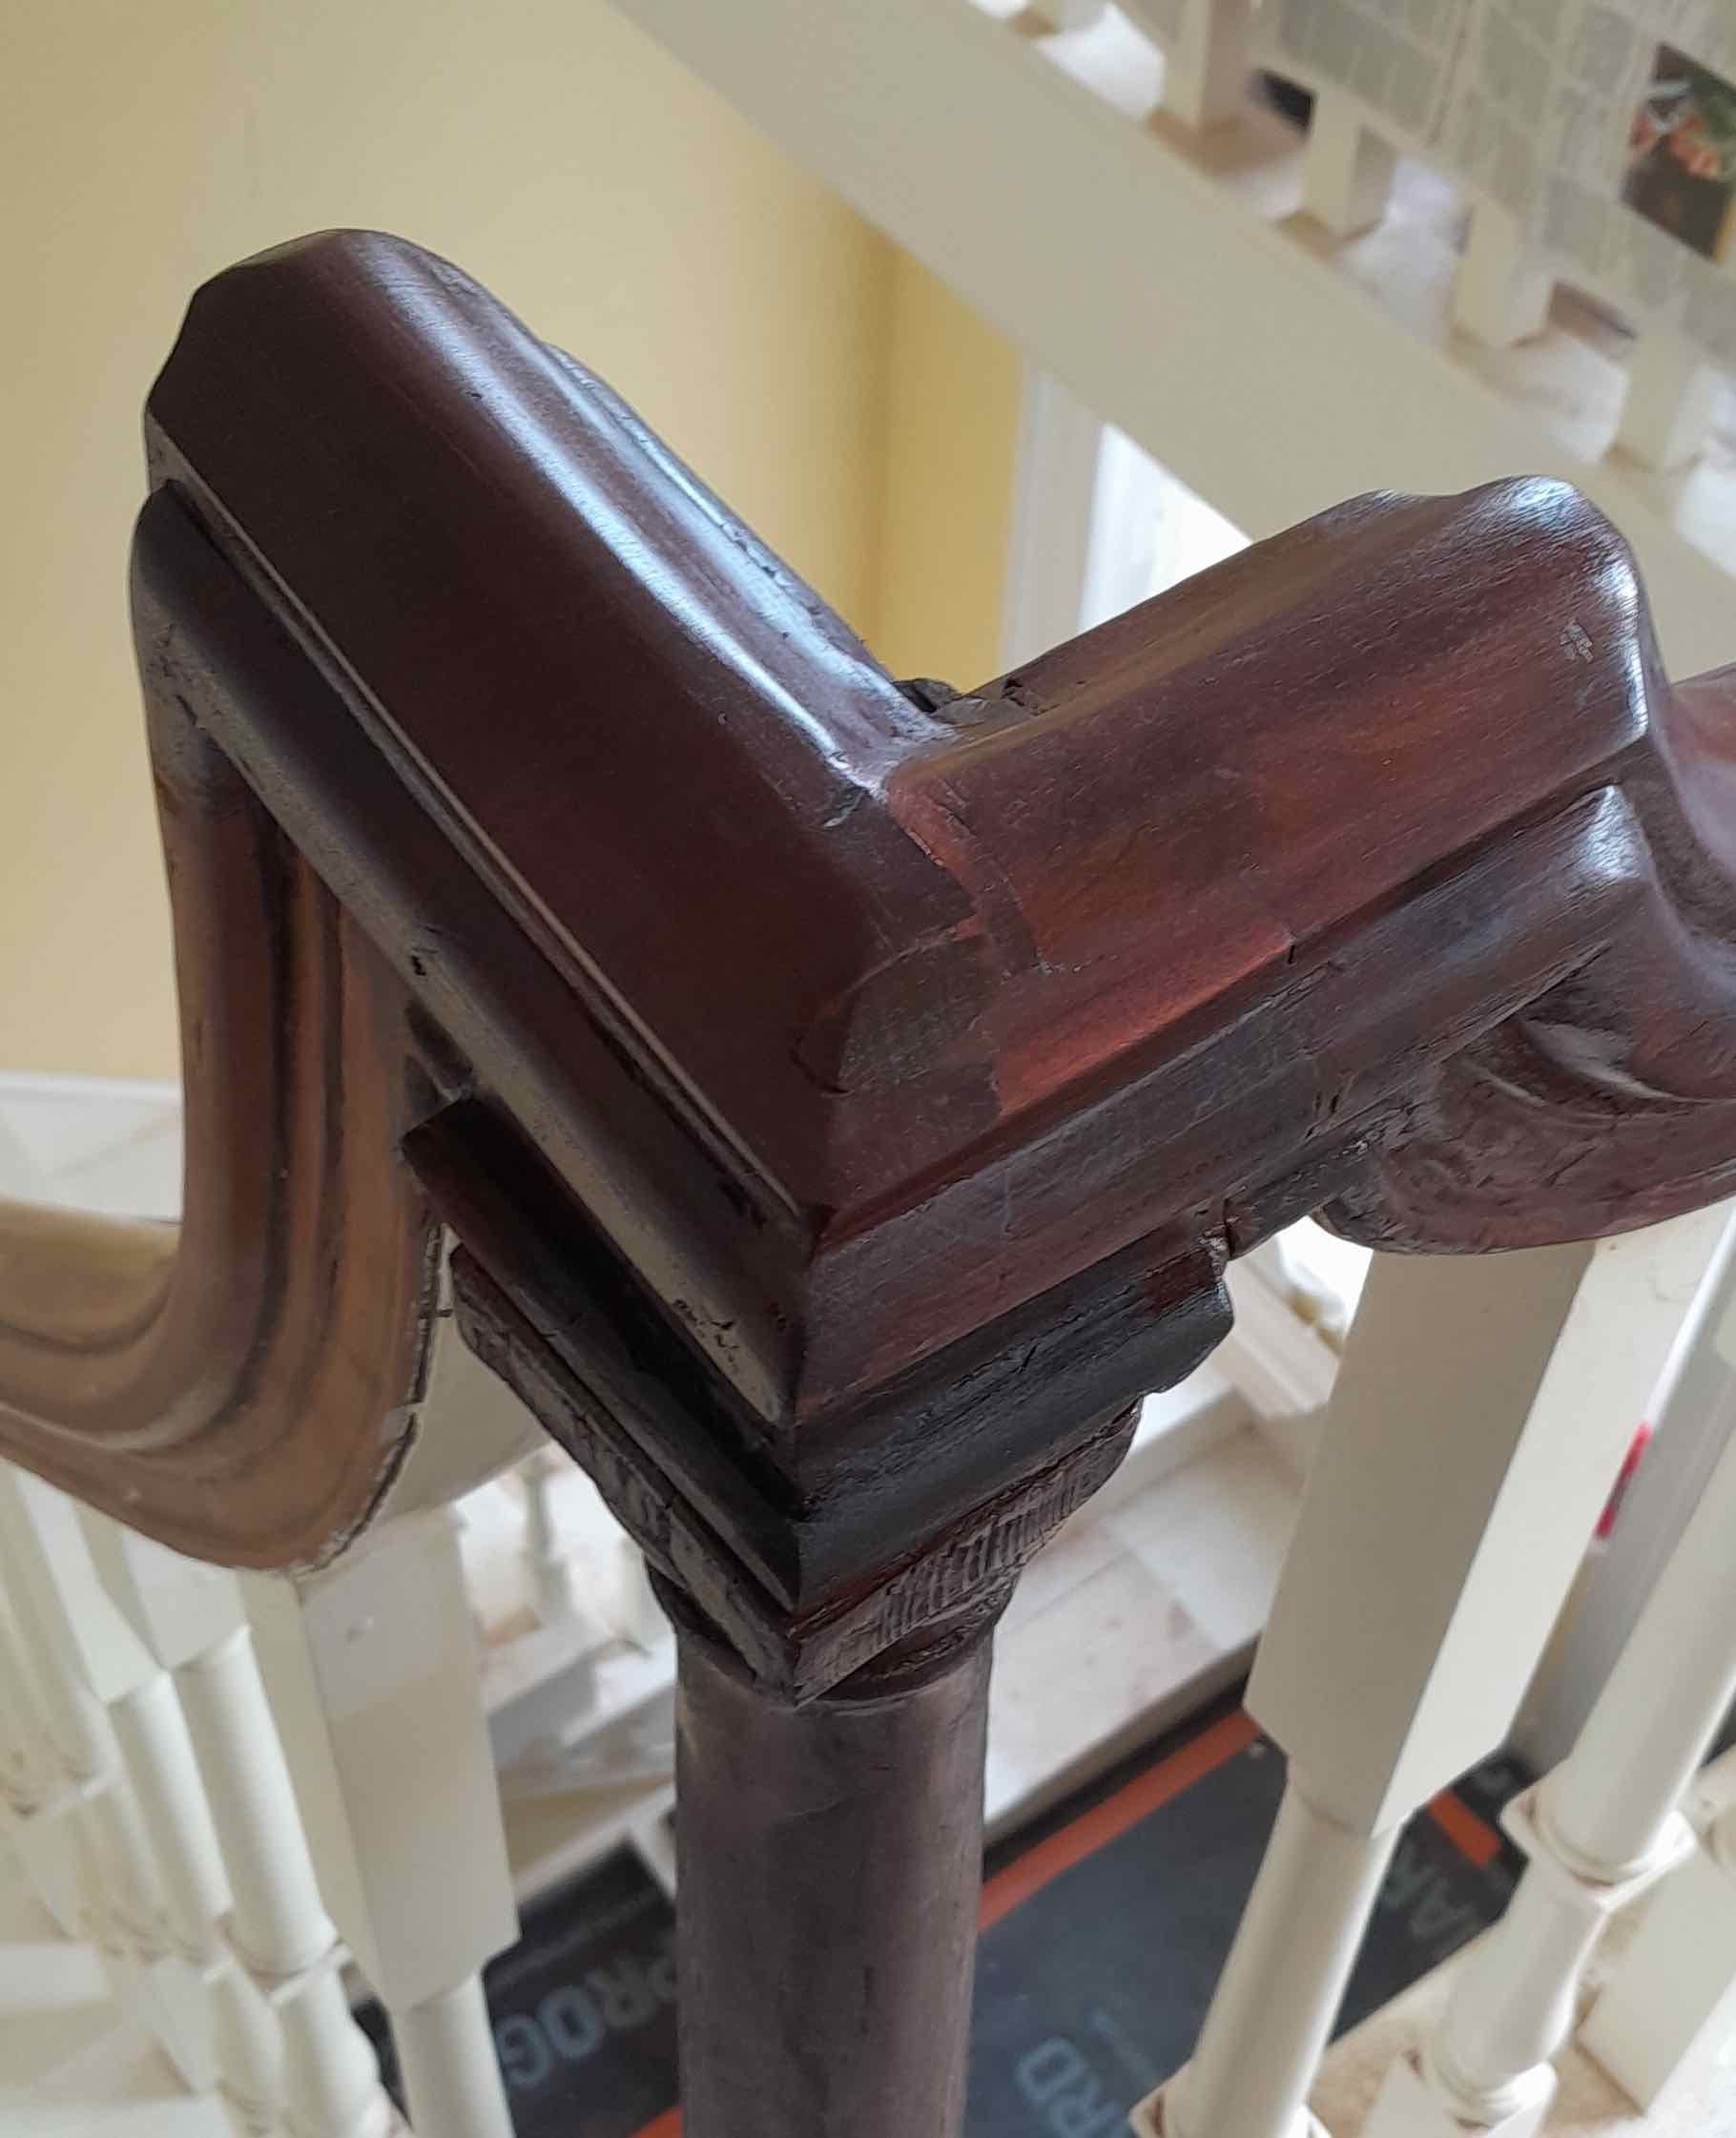
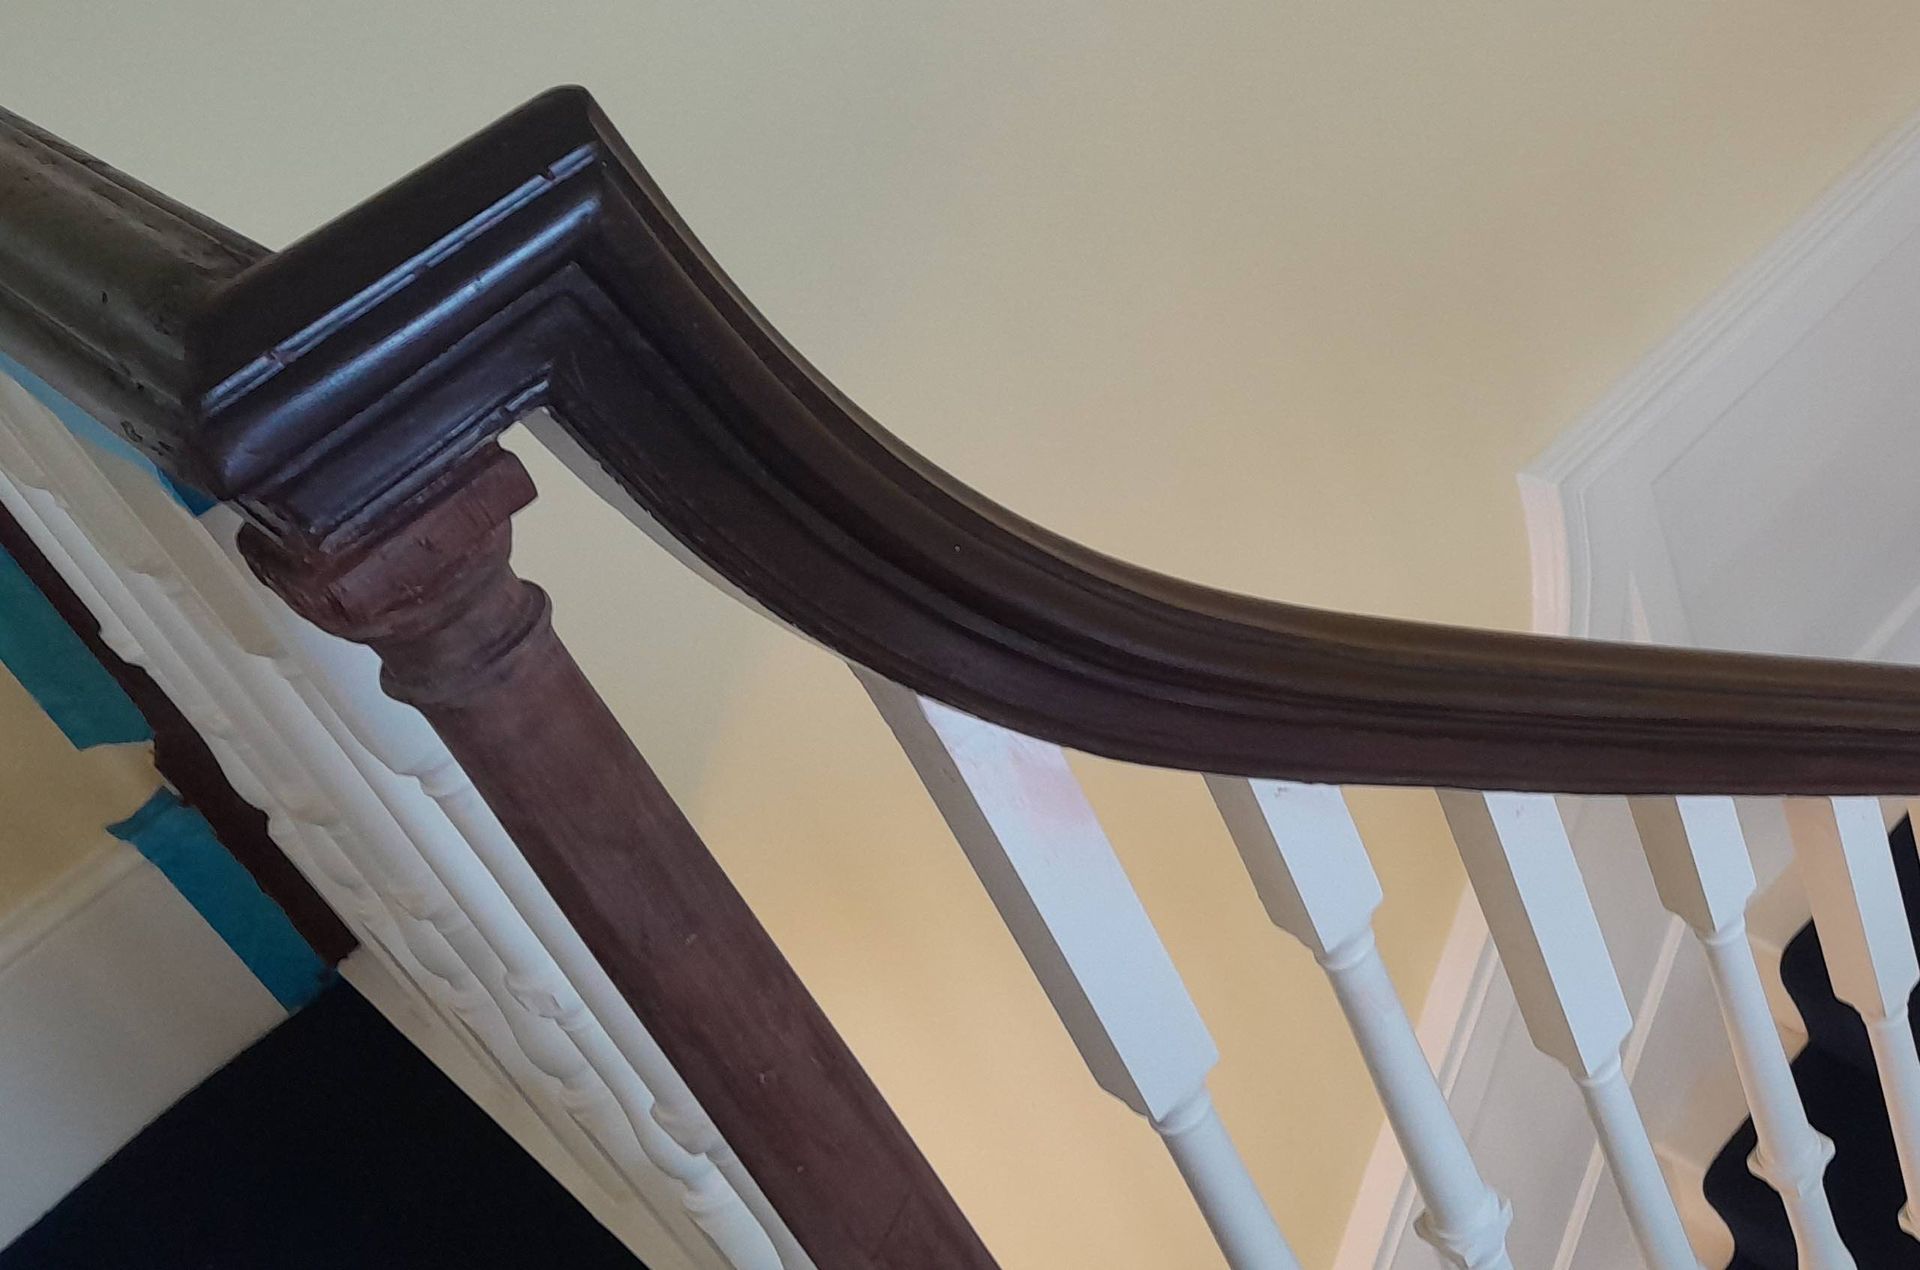
Of all the problems that came to light once the handrail had been stripped the biggest was how to make good the abysmal handrail corner joint on the second landing.
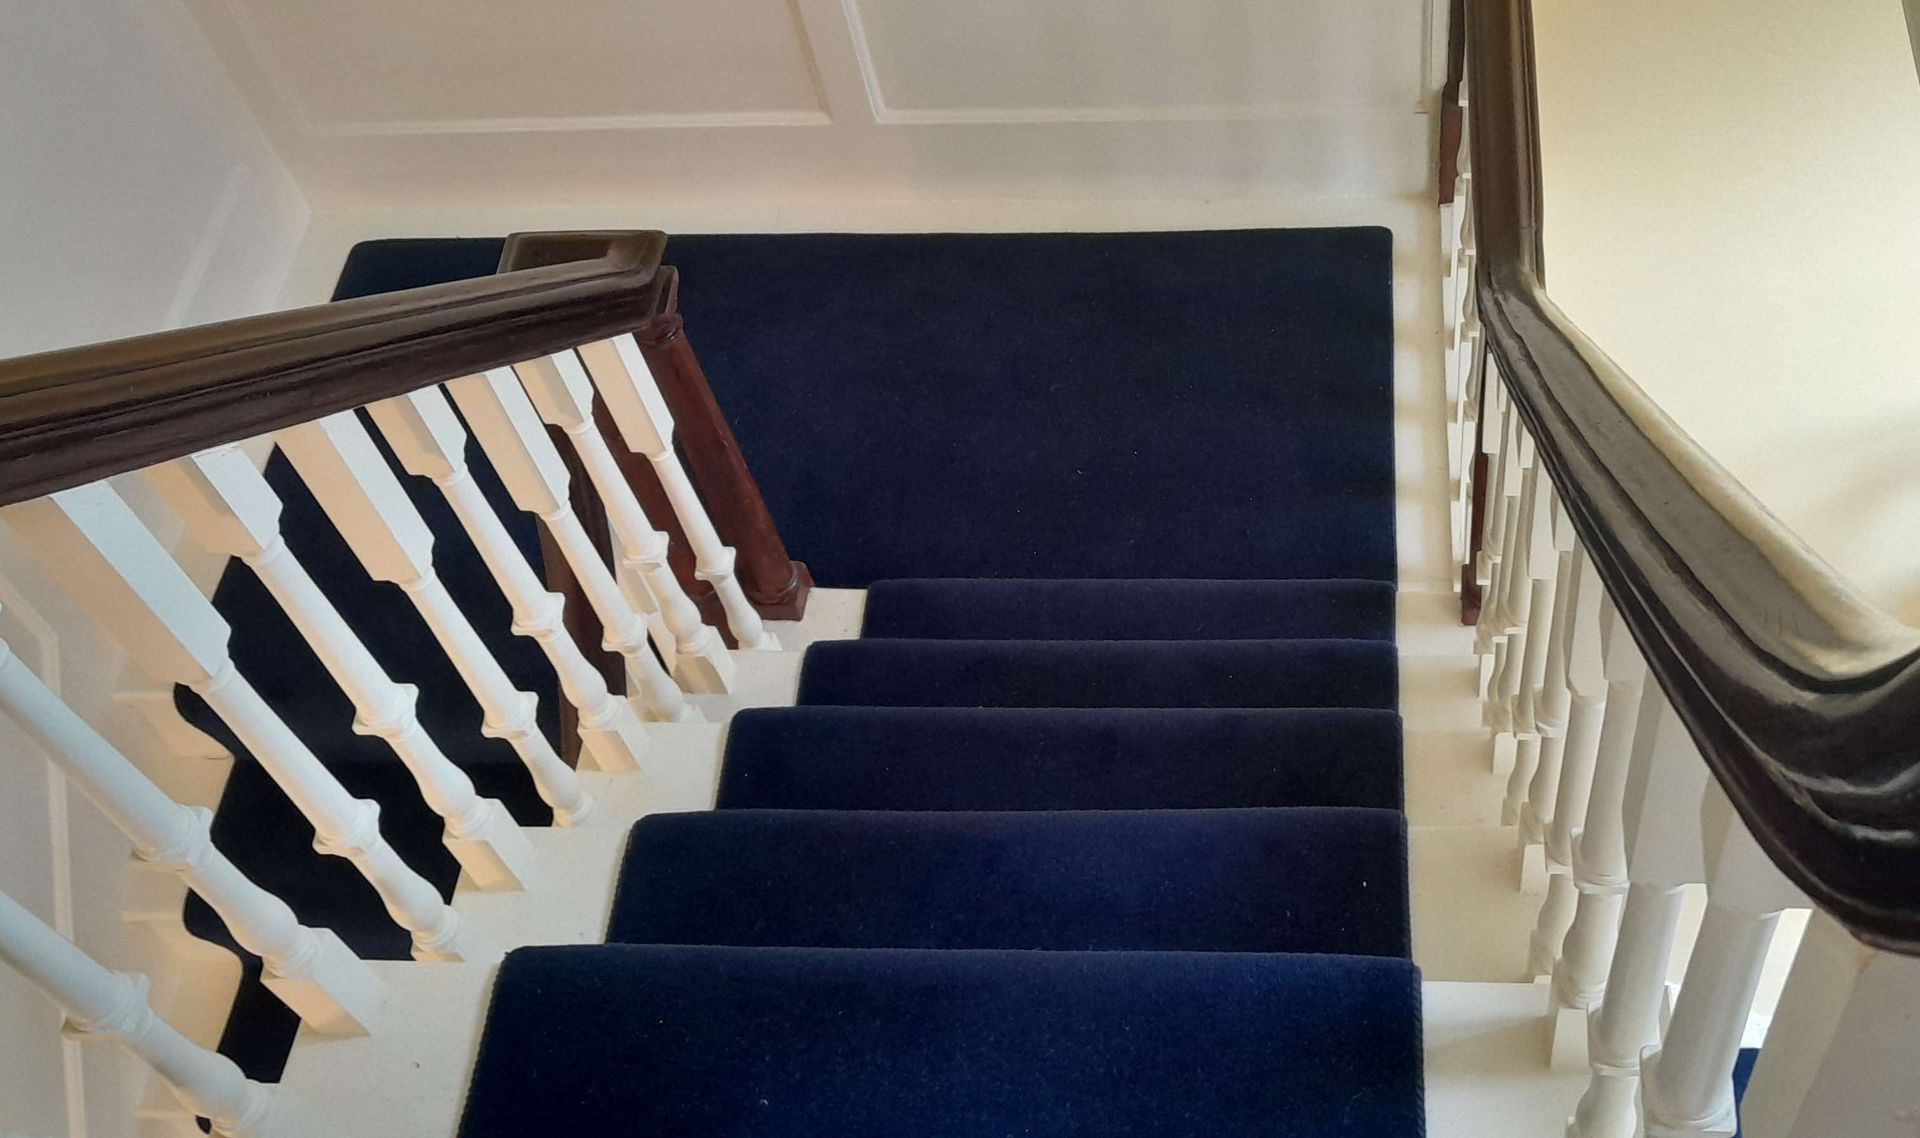
Nearly there, the carpets are fitted, the Mahogany handrail and Pitch pine newels are stained to match each other, now begins the polishing and waxing stage. A couple of coats of french polish are applied to seal the timber and hold the stain before sanding back and a coloured wax polish applied. The client wanted a wax finish which they felt would be more in keeping with the age of the property.
Furniture:
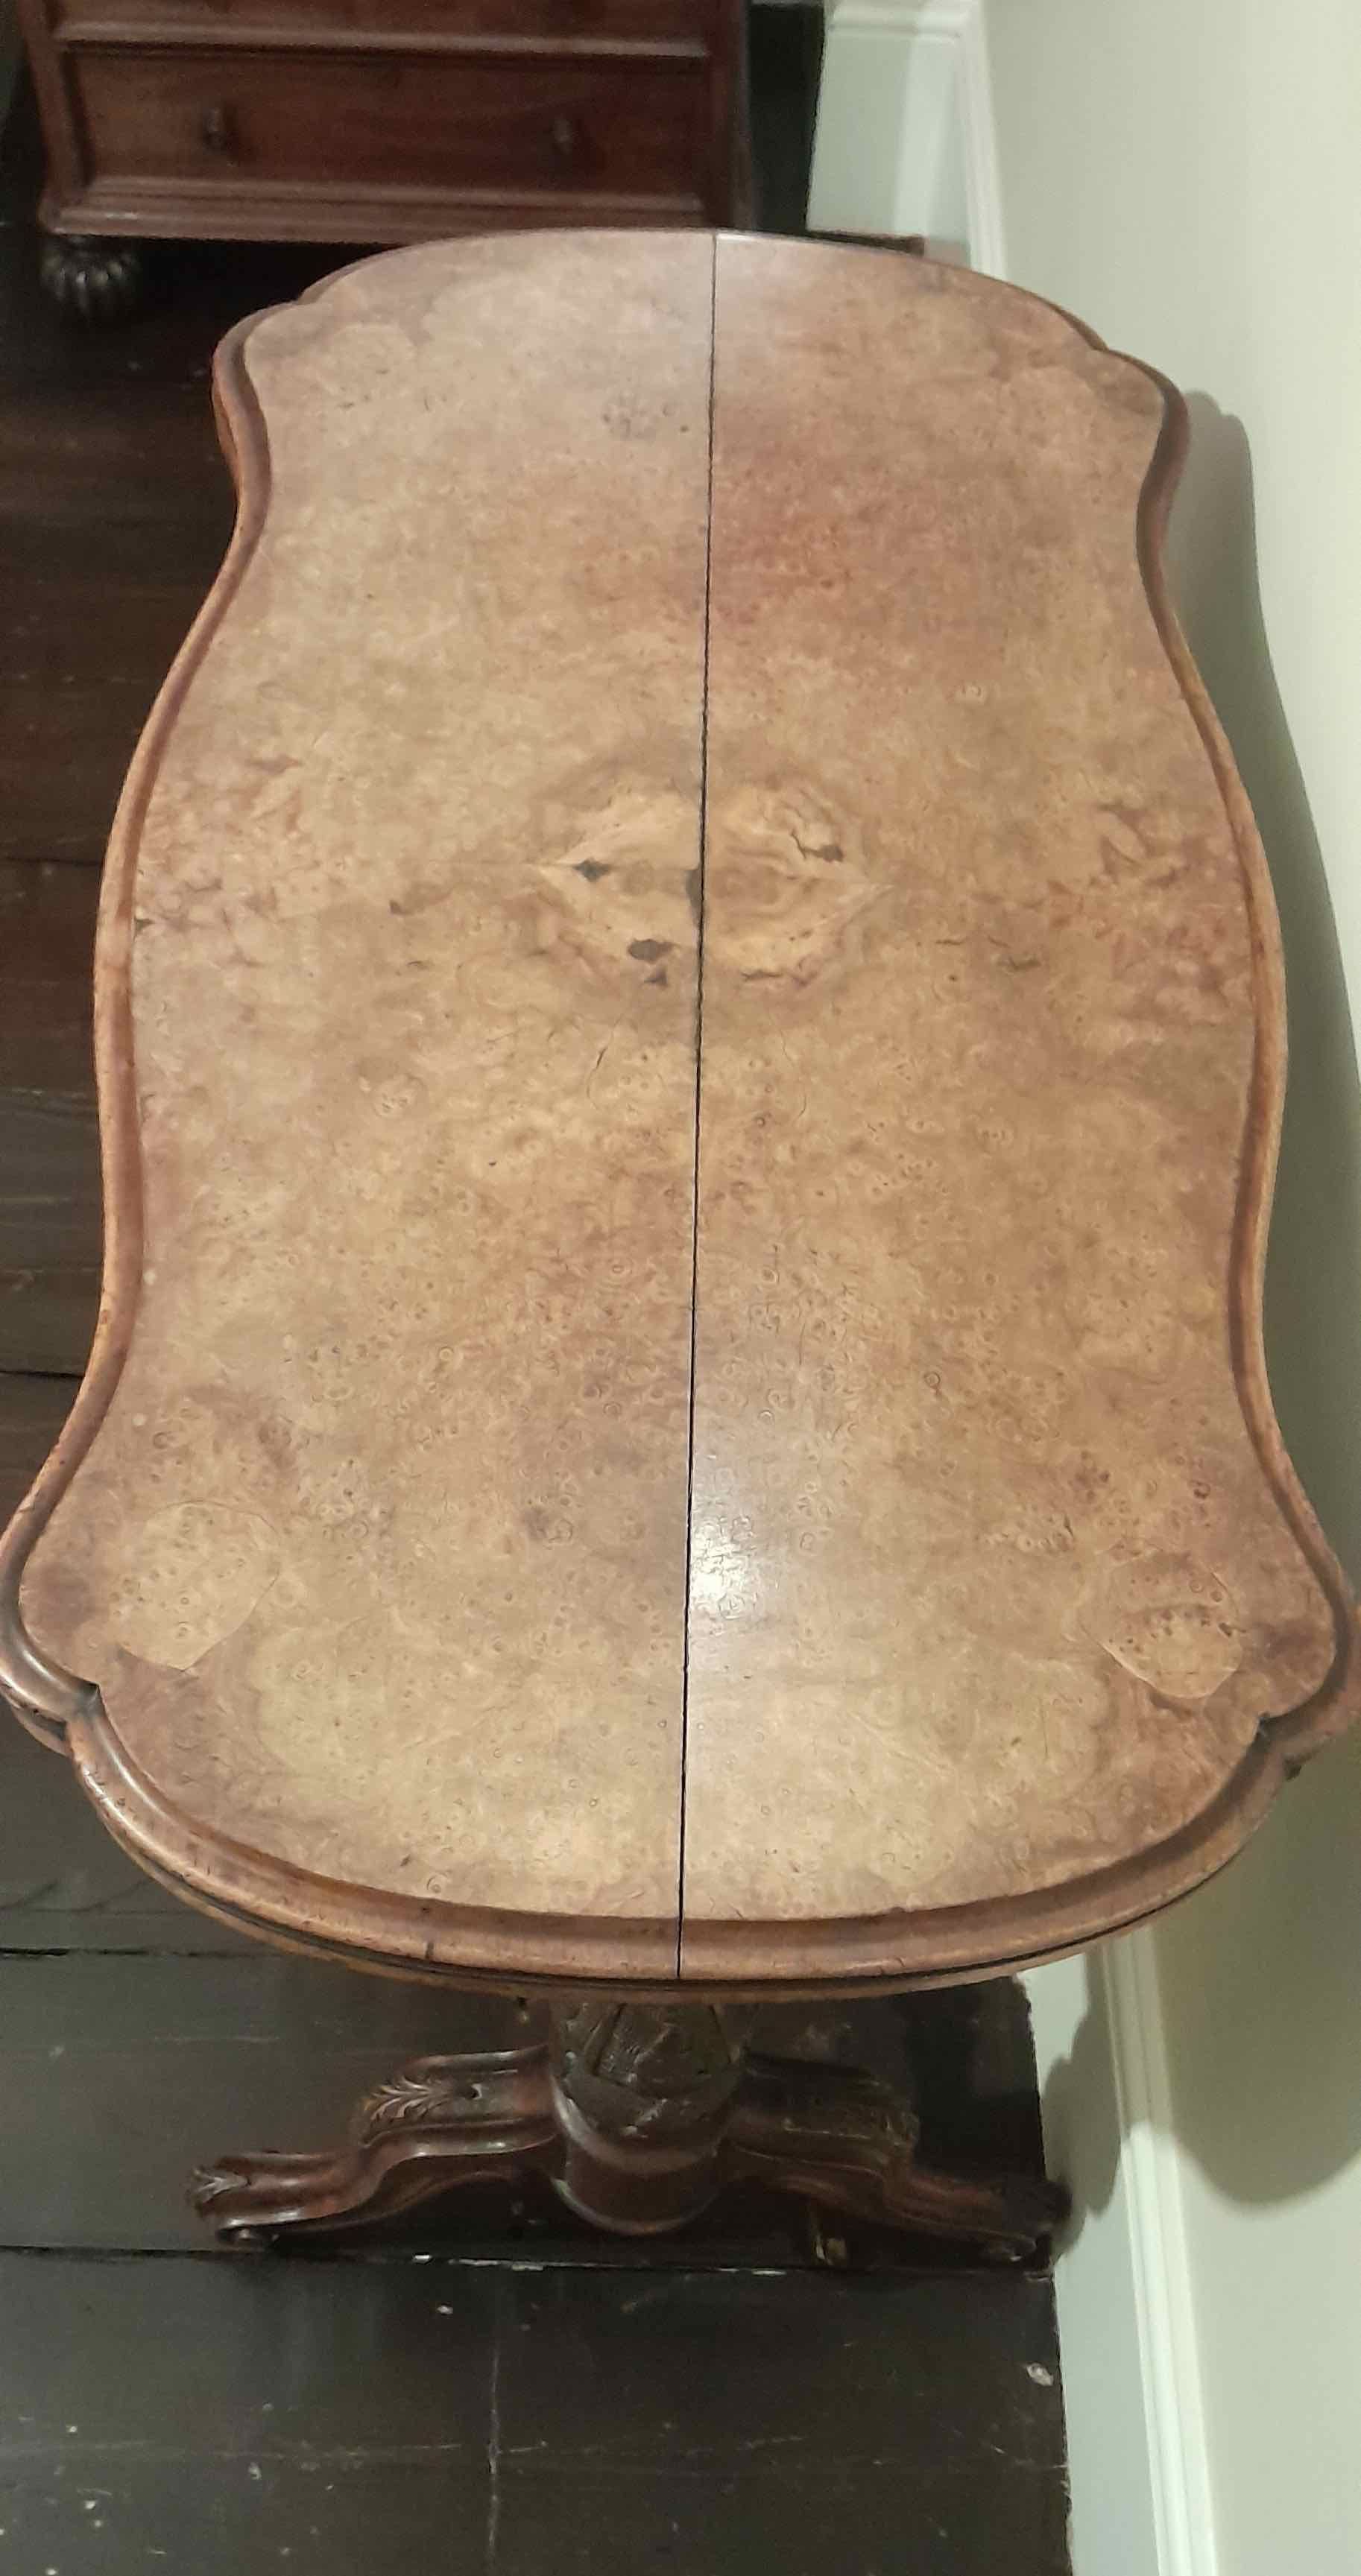
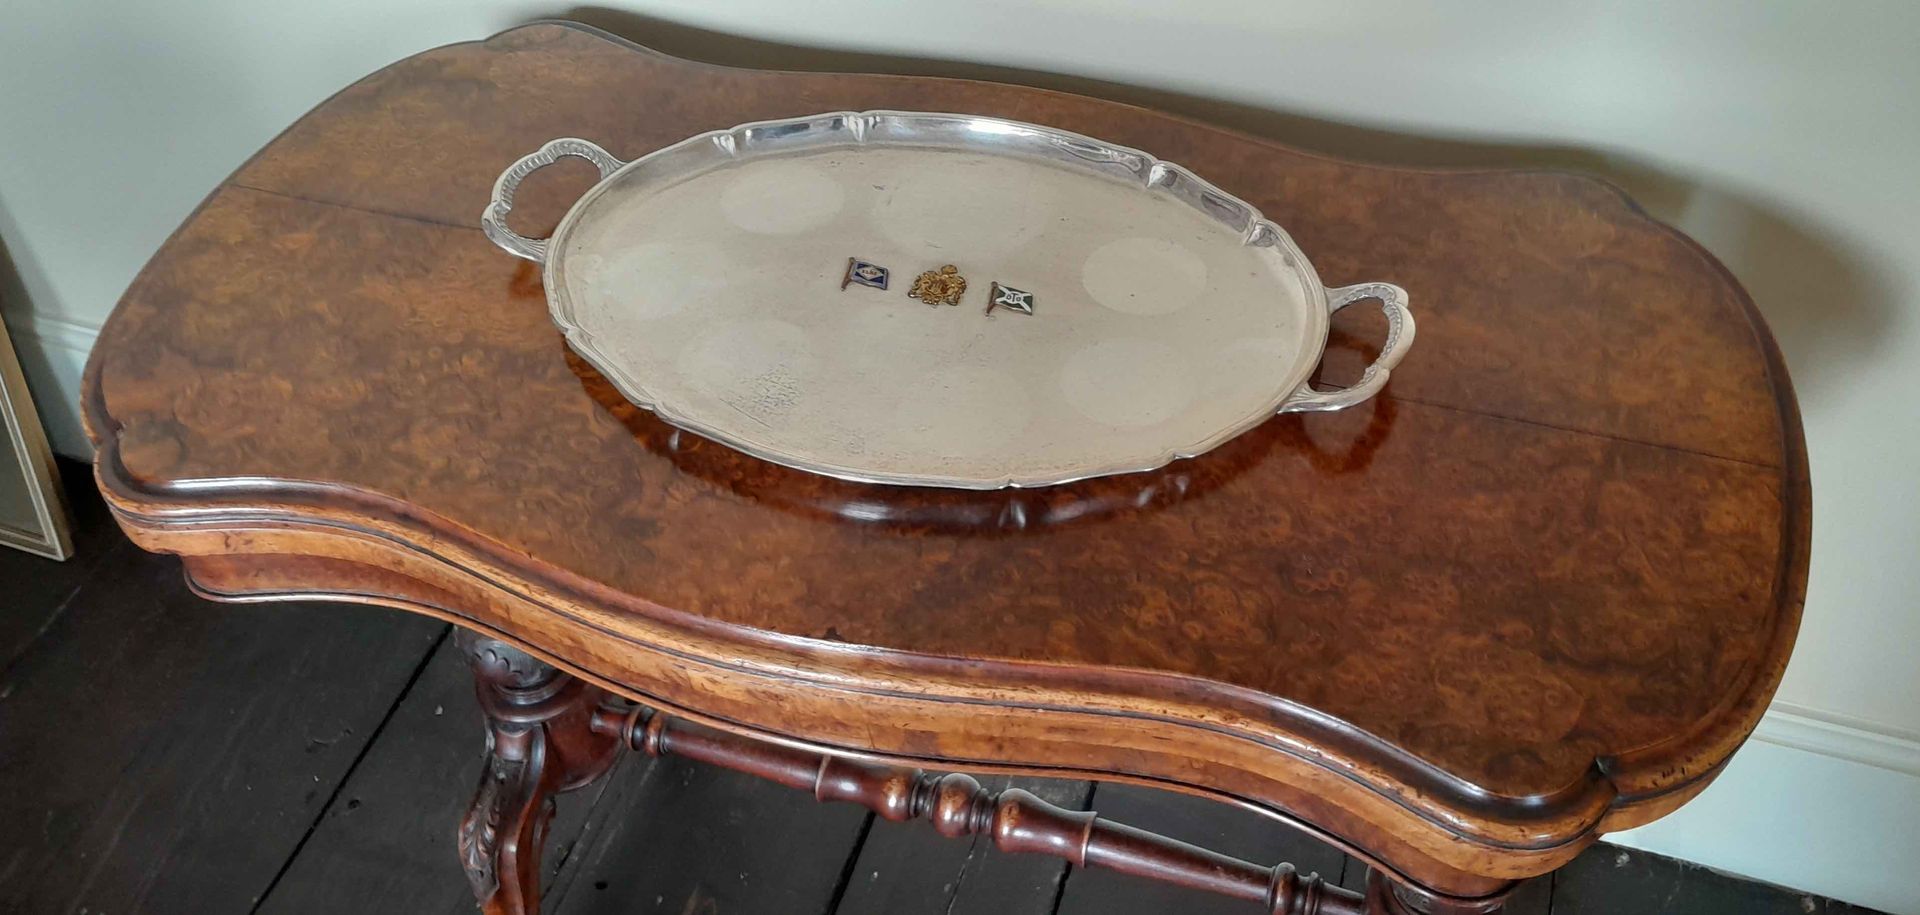
A client inherited this card table along with other pieces of furniture when they bought the house but it wasn't until I pointed out what it was that their interest piqued.
It is a card table from the Victorian period constructed in Walnut with a book-matched burr Walnut veneered top, the veneered top had seen better days as it had been exposed to strong sunlight causing the polish to fade and block out the beauty of the wood below.
Although there was other damage to the top, the value of the piece didn't warrant that level of restoration work.